Was ist Creator Studio
Creator Studio ist ein umfassender Produktions-Workspace, der entwickelt wurde, um eigenständige Medienprojekte, episodische Serien und Werbekampagnen über fünf Hauptproduktionsphasen hinweg zu verwalten: Entwicklung, Vorproduktion, Produktion, Nachproduktion und Abgeschlossen.
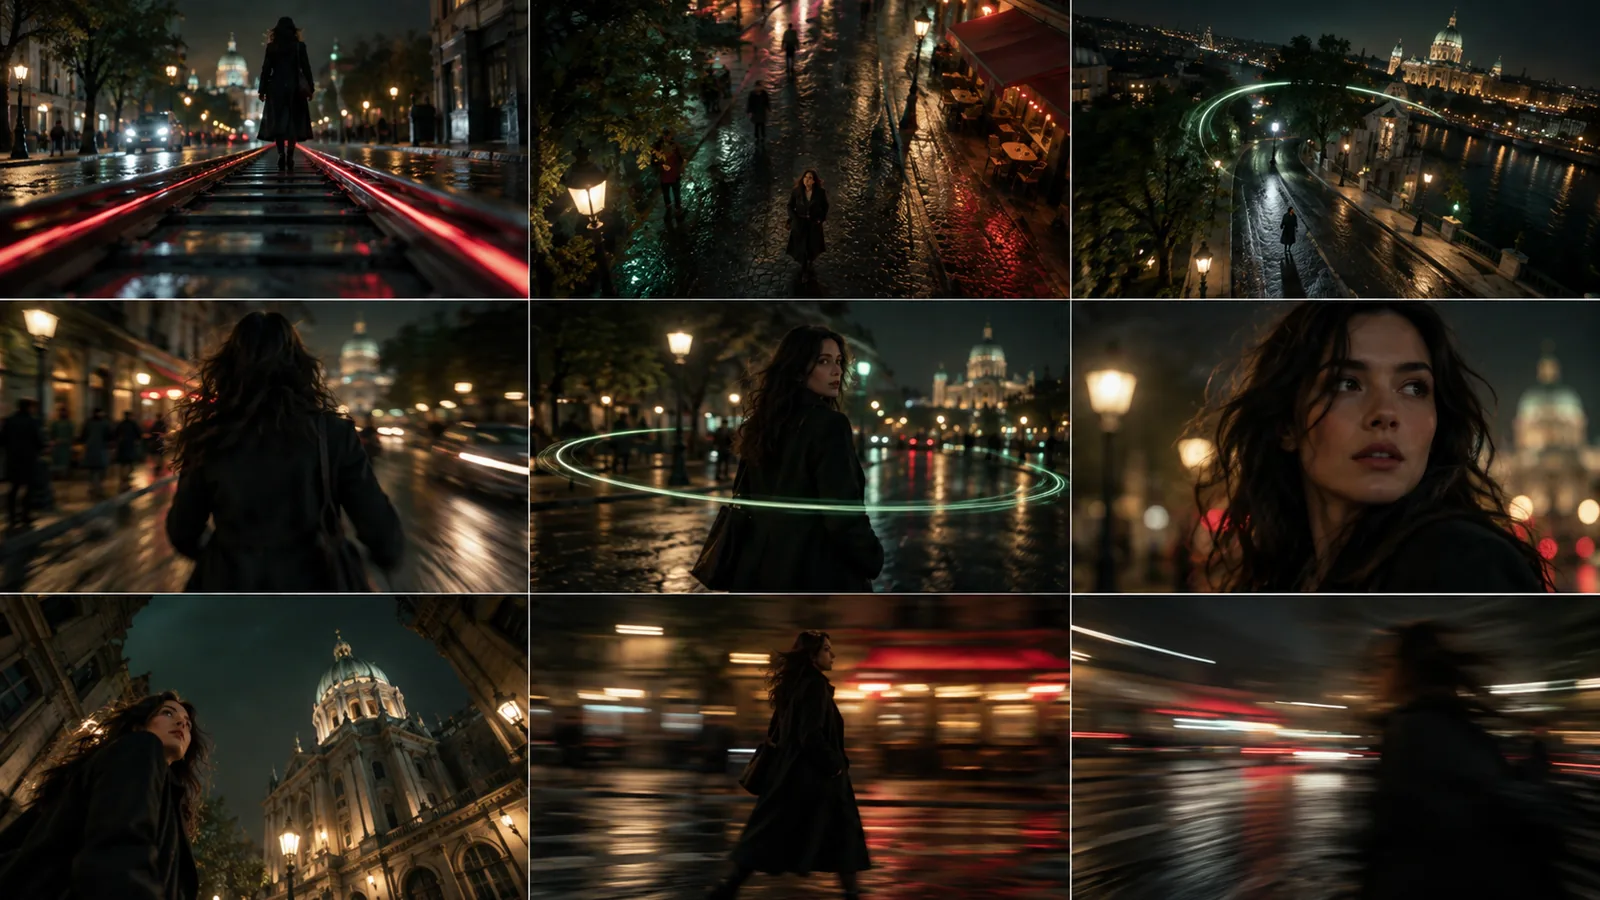
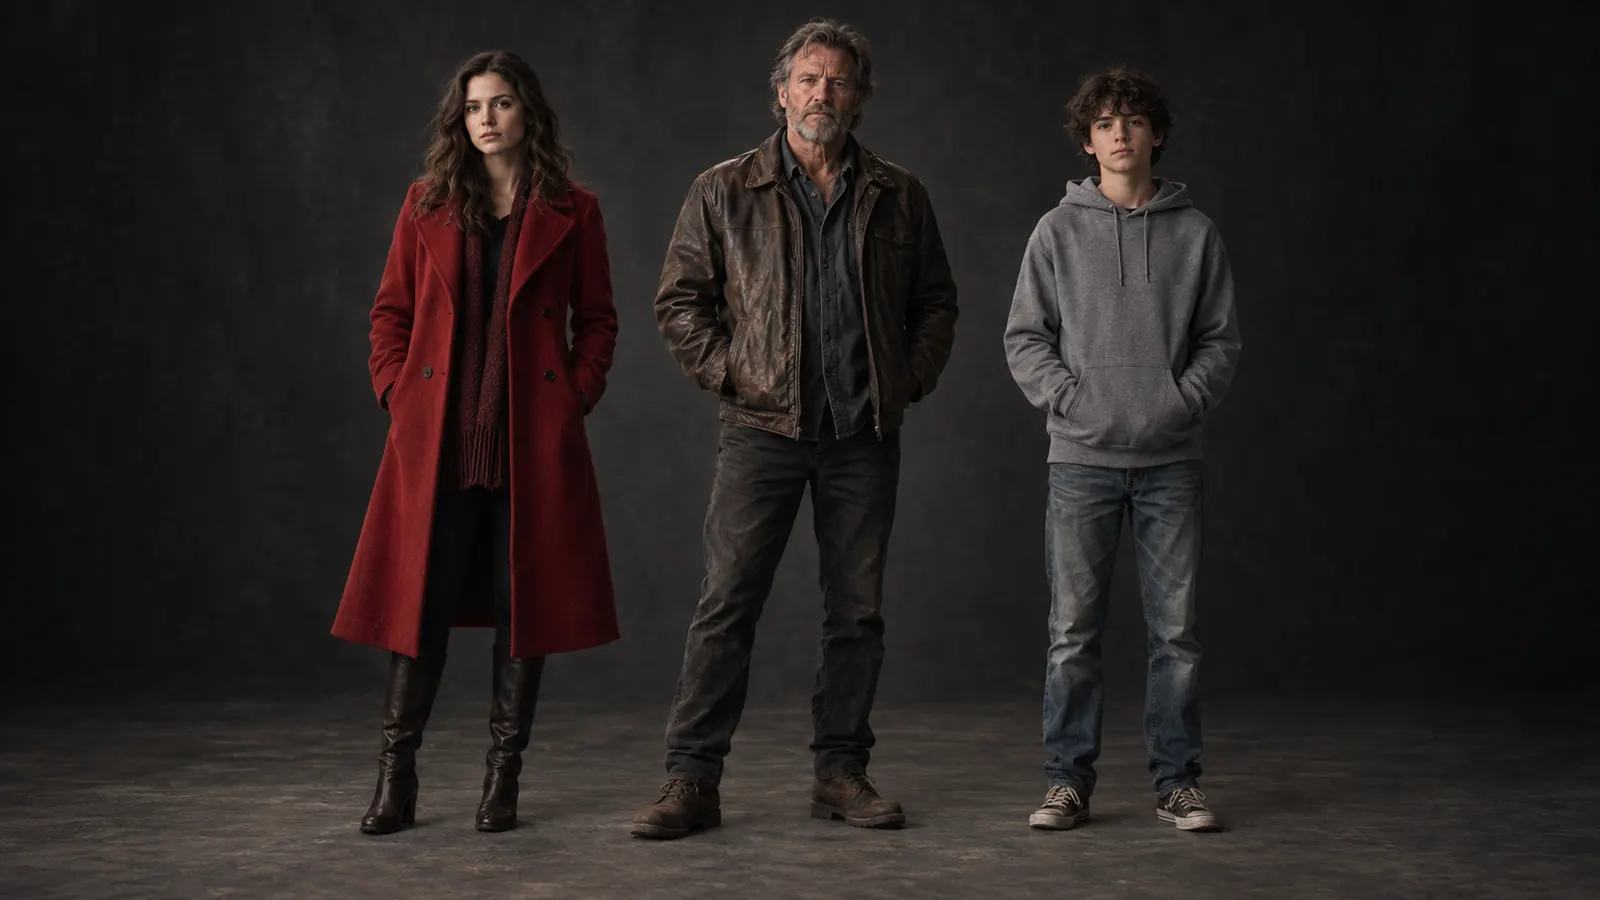
Die Anwendung verbindet Ihre Produktions-Assets – einschließlich Drehbüchern, Treatments, visuellen Stilregeln, Charakterreferenzblättern, Szenen-Blocking-Karten, virtuellen Kamera-Setups, Audiospuren und Budgets – direkt mit KI-gestützten Bild- und Videogenerierungs-Pipelines.
Erste Schritte
- Anwendung öffnen: Wählen Sie im Haupt-Dashboard Ihrer Plattform Creator Studio aus.
- Projekt erstellen oder öffnen: Klicken Sie auf die Schaltfläche zum Erstellen eines Projekts, um Projektdetails einzugeben (Titel, Synopsis, Produktionsformat, Zielseitenverhältnis, Gesamtbudget und Poster-Artwork), oder wählen Sie ein bestehendes Projekt aus Ihrem Dashboard aus.
- KI-Projekt-Setup ausführen: Für neue Produktionen wählen Sie KI-Projekt-Setup, um Ihr Briefing zu analysieren. Das System empfiehlt automatisch Produktions-Workflows, Personalrollen, Teamstrukturen und anfängliche Task-Boards, die Sie mit einem einzigen Klick übernehmen können.
- Serien oder Unterprojekte einrichten: Wenn Sie episodische Inhalte oder Werbekampagnen verwalten, erstellen Sie Unterprojekte oder Episoden unter einem übergeordneten Projekt. Unterprojekte übernehmen automatisch Master-Markenrichtlinien und Asset-Bibliotheken, während lokalisierte Szenenlisten, Timelines und visuelle Stile beibehalten werden.
- Projektstandardwerte konfigurieren: Öffnen Sie Projekteinstellungen, um Standard-Seitenverhältnisse, visuelle Branding-Regeln, Integrationen und Produktionseinstellungen festzulegen.
- Kreditkosten und Vorschauen verstehen: KI-Generierungen verbrauchen Projekt-Credits basierend auf Ihrem gewählten Modell, der Renderauflösung und der Clipdauer.
- Vorab-Kostenübersichten: Der Shot Editor zeigt die genauen Kreditkosten an, bevor Sie auf Generieren klicken.
- Trockenlauf-Vorschau: Nutzen Sie die Trockenlauf-Vorschau-Funktion, um den Kreditverbrauch über Multi-Shot-Sequenzen hinweg abzuschätzen, bevor Sie Ihre Renderings starten.
Hauptfunktionen
1. Videogenerierung, Regie & Virtuelle Kamerasteuerung
- Asset-gesteuertes Video-Rendering: Referenzbilder von Charakteren, Orten, Kostümen und Requisiten werden automatisch in die Render-Engine eingespeist, um visuelle Details in den generierten Videoclips konsistent zu halten.
- Shot Editor & Kamerasteuerung: Steuern Sie einzelne Einstellungen mit 80 virtuellen Kameragehäusen, 74 Objektiven, Filmstock-Parametern und 49 voreingestellten Kamerabewegungen (wie Dolly, Orbit, Drohne, FPV und Speed Ramps), komplett mit kurzen Vorschauclips. Geben Sie
@ in Prompt-Felder ein, um Darsteller direkt in Einstellungen zu markieren.
- Zweistufiges Rendering (480p Entwurf zu 1080p Finale): Rendern Sie schnelle 480p Entwurfs-Clips mit Seedance 2.5, um Bewegung und Timing zu überprüfen, und aktualisieren Sie anschließend genehmigte Takes auf 1080p finale Renderings, ohne erneute Prompts oder einen Neustart.
- Inpainting & Maskierte Bearbeitungen: Markieren Sie bestimmte Bildbereiche mit einem Maskenpinsel und beschreiben Sie Ihre Überarbeitung. GPT Image 2.5 modifiziert nur den ausgewählten Bereich, während der Rest des Bildes intakt bleibt.
- Clip-Manipulationen (Bearbeiten, Erweitern, Hochskalieren): Modifizieren Sie bestehende Videoclips mit Video-zu-Video-Prompts, erweitern Sie Clipdauern mit nahtlos verbundenen zusätzlichen Sekunden oder skalieren Sie Clip-Auflösungen direkt hoch.
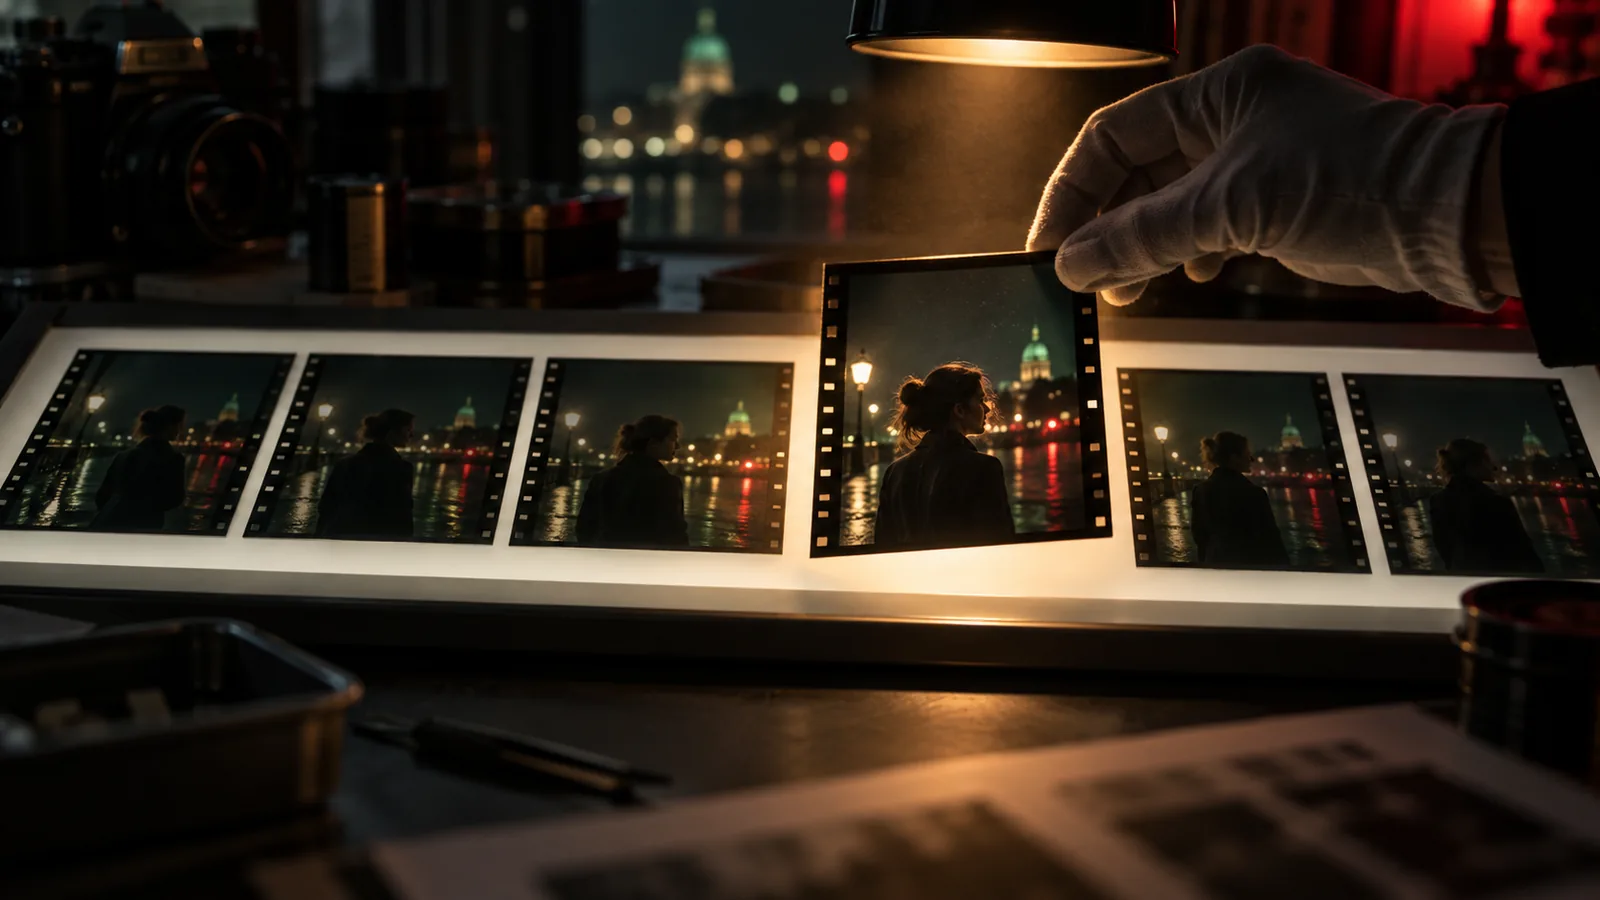
- Externes Material importieren: Laden Sie Ihr eigenes Videomaterial in eine Einstellung hoch und verwenden Sie eine interaktive Filmstreifensteuerung, um exakte Bildbereiche als Quellmaterial für Bearbeitungen oder Fortsetzungen auszuwählen.
- Multi-Shot Kompositionsraster: Zeigen Sie die Shot-Abdeckung an, indem Sie 2x2, 3x3 oder 4x4 Kamerawinkel-Raster in einem Durchgang generieren, wählen Sie dann Ihren bevorzugten Bildausschnitt aus und skalieren Sie ihn hoch.
- KI-Bildgenerierung & KI-Autovervollständigung: Generieren Sie Storyboard-Frames, indem Sie Ihr bevorzugtes Bildmodell auswählen, geleitet von visuellen Projektregeln. Nutzen Sie KI-Autovervollständigung, um Shot-Prompts, Aufschlüsselungen und Kontext aus Ihrem Skript in Ihrer Sprache automatisch auszufüllen.
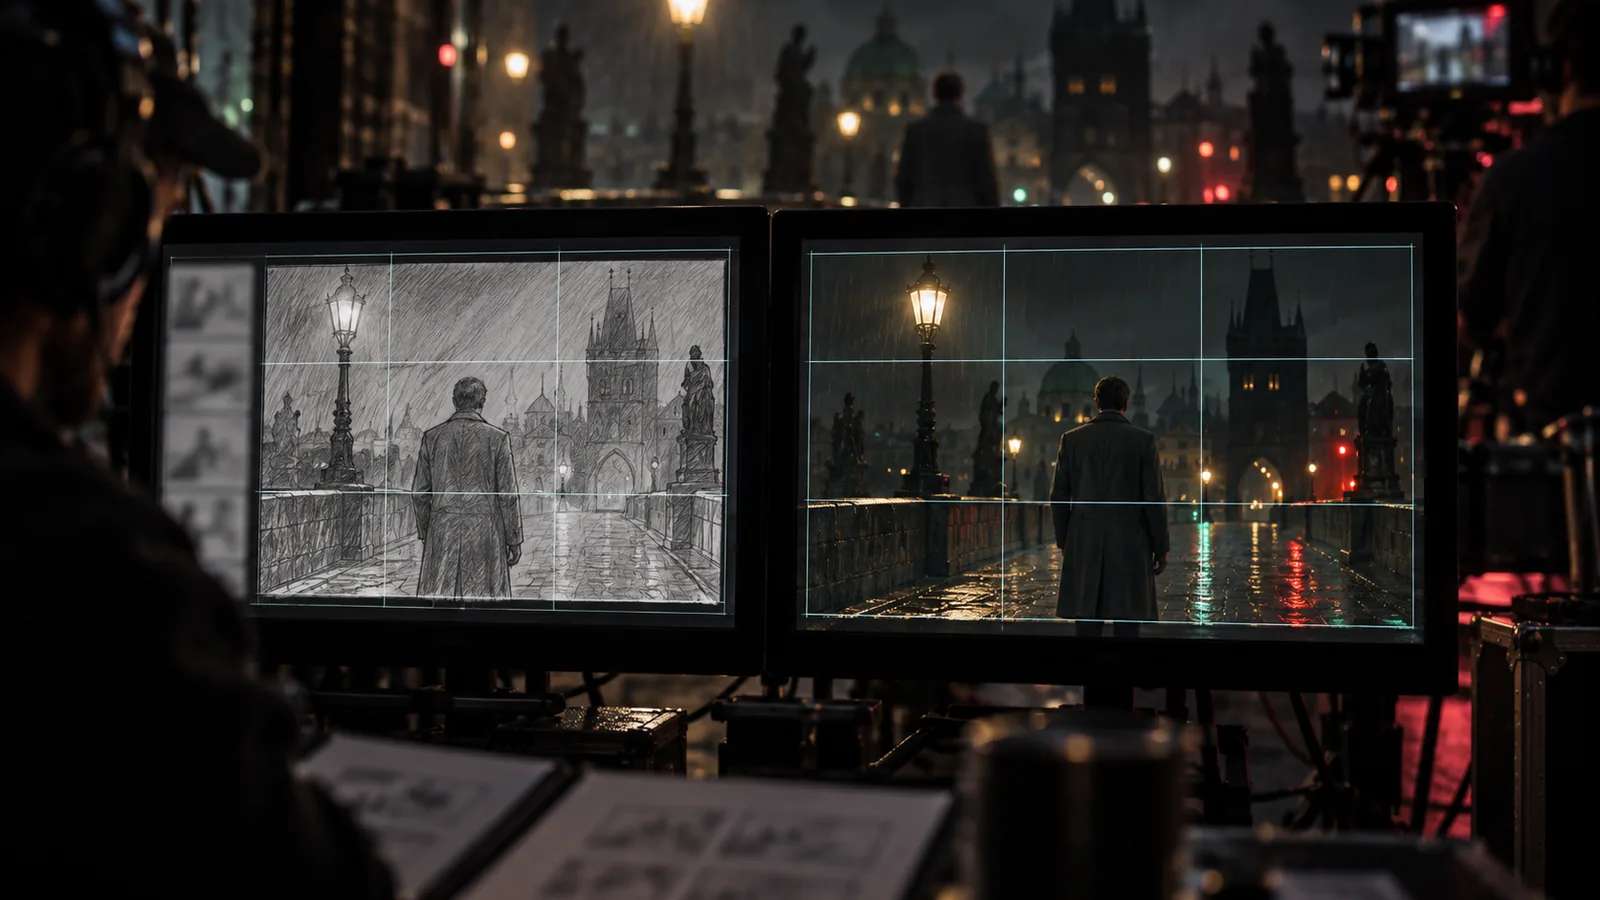
- Kompositionsfixierung (REF SHOT & +STORYBOARD): Fixieren Sie einen Storyboard-Frame als feste Kompositionsvorlage mit REF SHOT, damit generierte Videoclips exakte Kamerawinkel und Layouts beibehalten, während sich Schauspieler bewegen. Nutzen Sie +STORYBOARD, um Kompositionsregeln über ein gesamtes Storyboard-Blatt durchzusetzen.
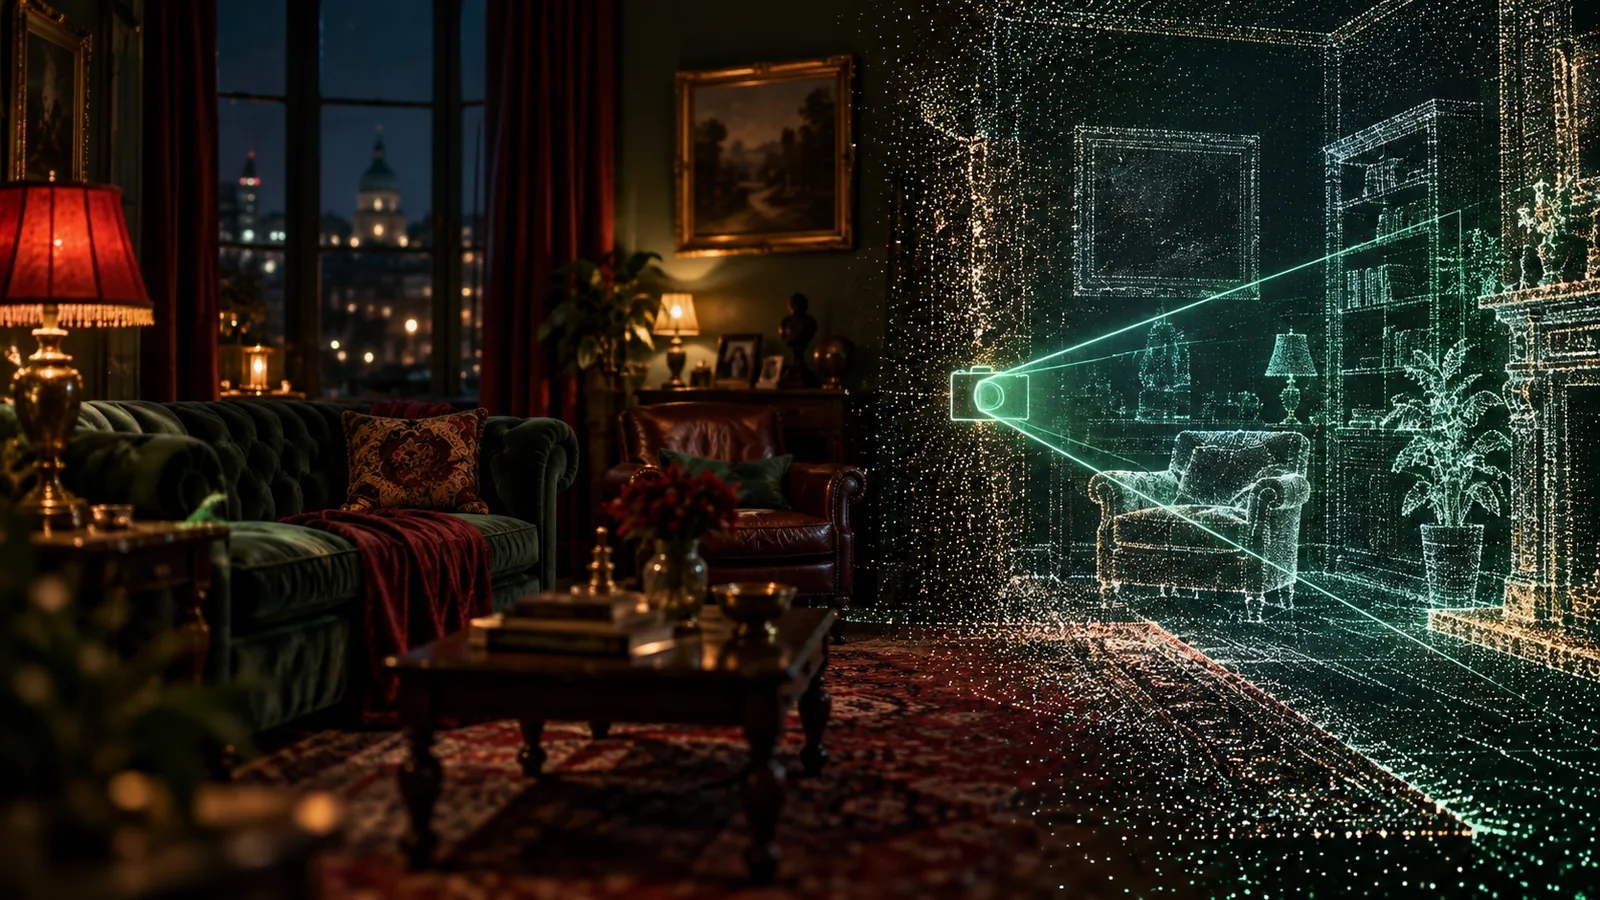
- 3D-Weltgenerierung: Synthetisieren Sie eine erkundbare 3D-Umgebung aus einem einzelnen Standbild, um neue Kamerawinkel innerhalb desselben Raums zu erkunden.
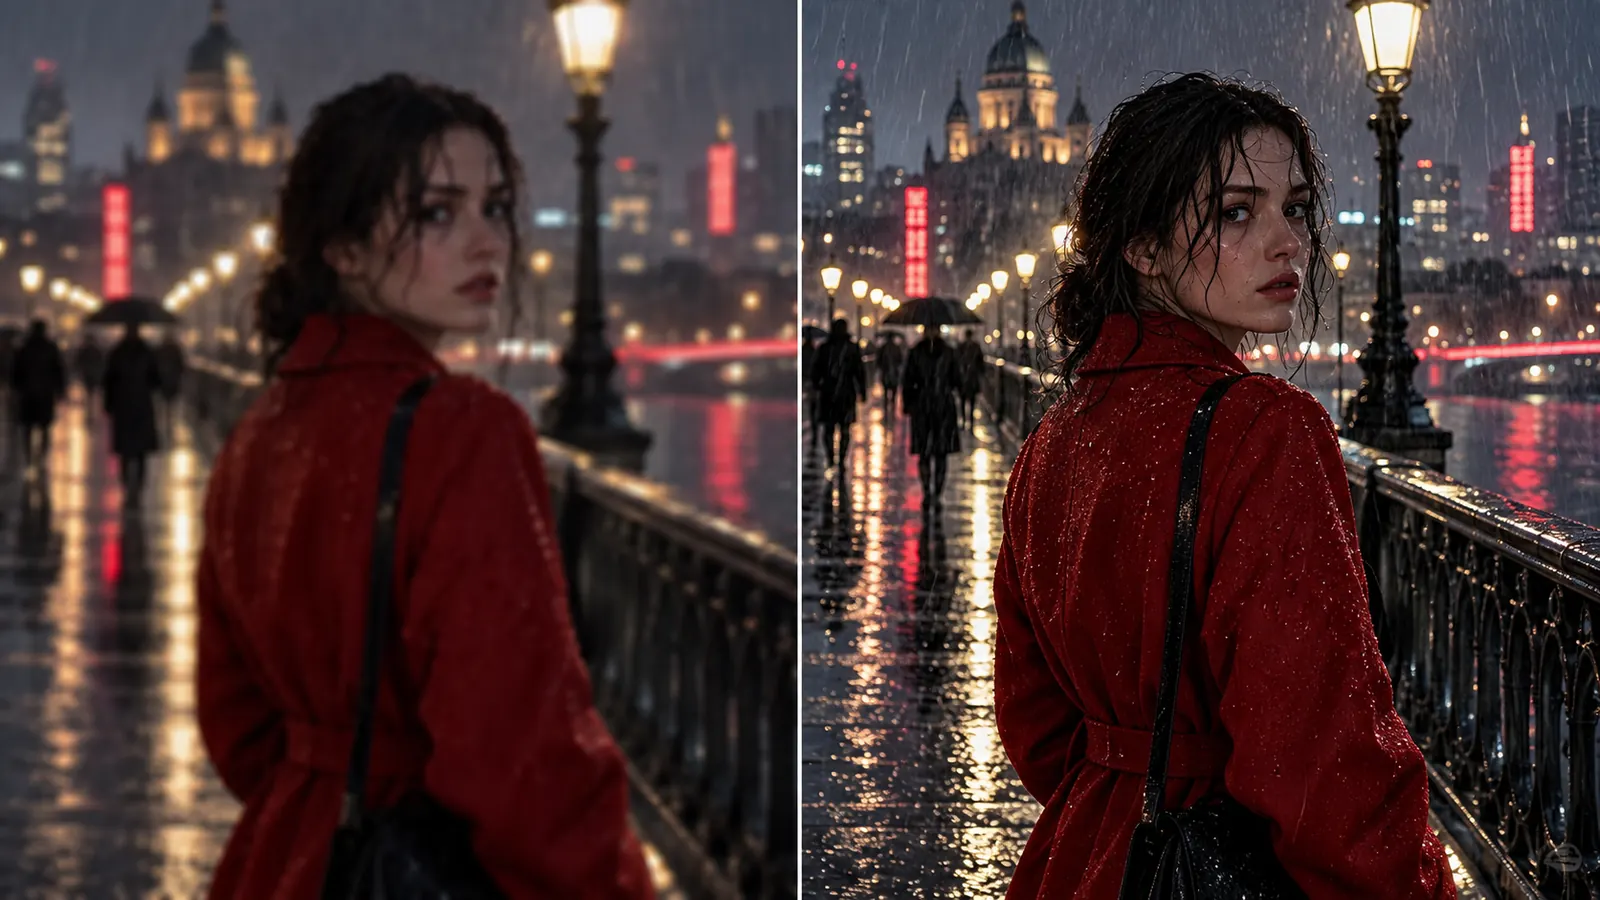
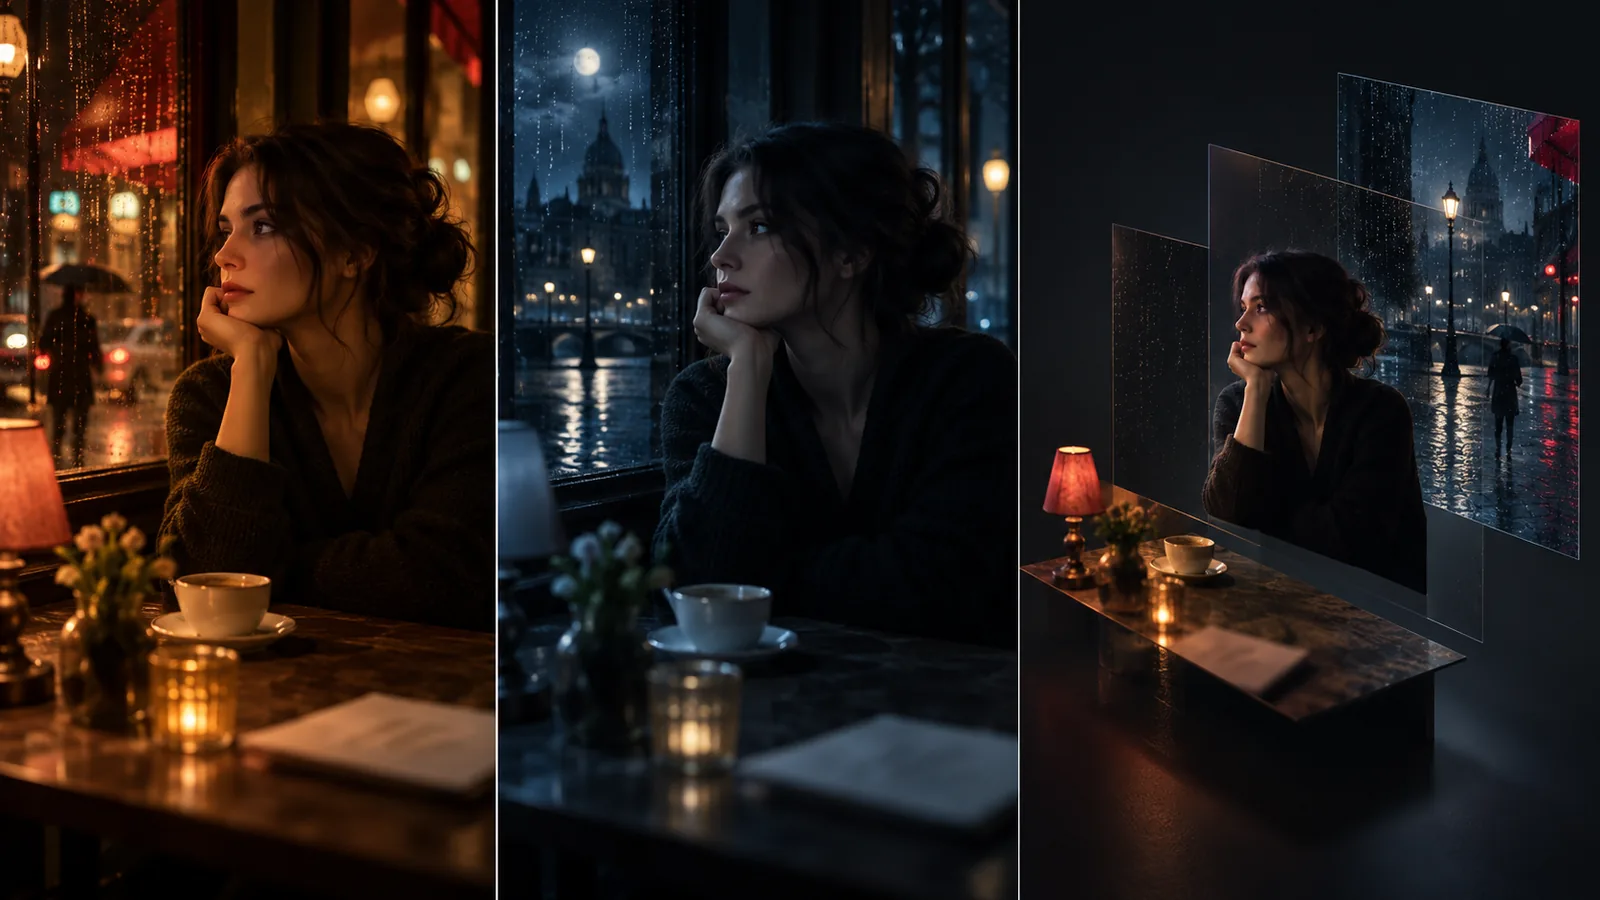
- Neuausleuchtung, Neu-Ausrichtung & Ebenenaufteilung: Beleuchten Sie fertige Frames neu, ändern Sie Kamerawinkel oder zerlegen Sie Frames in separate Vordergrund- und Hintergrundebenen, ohne von Grund auf neu zu rendern.
- In-Shot KI-Assistent: Interagieren Sie mit einem eingebetteten Assistenten im Shot Editor, der Shot-, Szenen- und Besetzungs-Kontexte liest, um Shot-Parameter für Sie anzupassen.
- Take-Verlauf & Ein-Klick-Versionskontrolle: Greifen Sie auf jeden Take in einer Versions-Timeline pro Shot zu, um Optionen zu vergleichen, aktive Schnitte zu wechseln oder frühere Takes mit einem einzigen Klick wiederherzustellen.
- Stapelweise Bild- & Asset-Generierung: Reihen Sie Frame-Generierungen für eine ganze Szene oder ein Skript auf einmal ein oder generieren Sie Referenzbilder für Charaktere, Kostüme, Requisiten und Orte in einem Durchgang stapelweise.
- Live-Agenten- & Teamkollegen-Updates: Sehen Sie Shots und Renderings, die von Teamkollegen oder automatisierten Agenten erstellt wurden, live in Ihrer Timeline, ohne den Browser aktualisieren zu müssen.
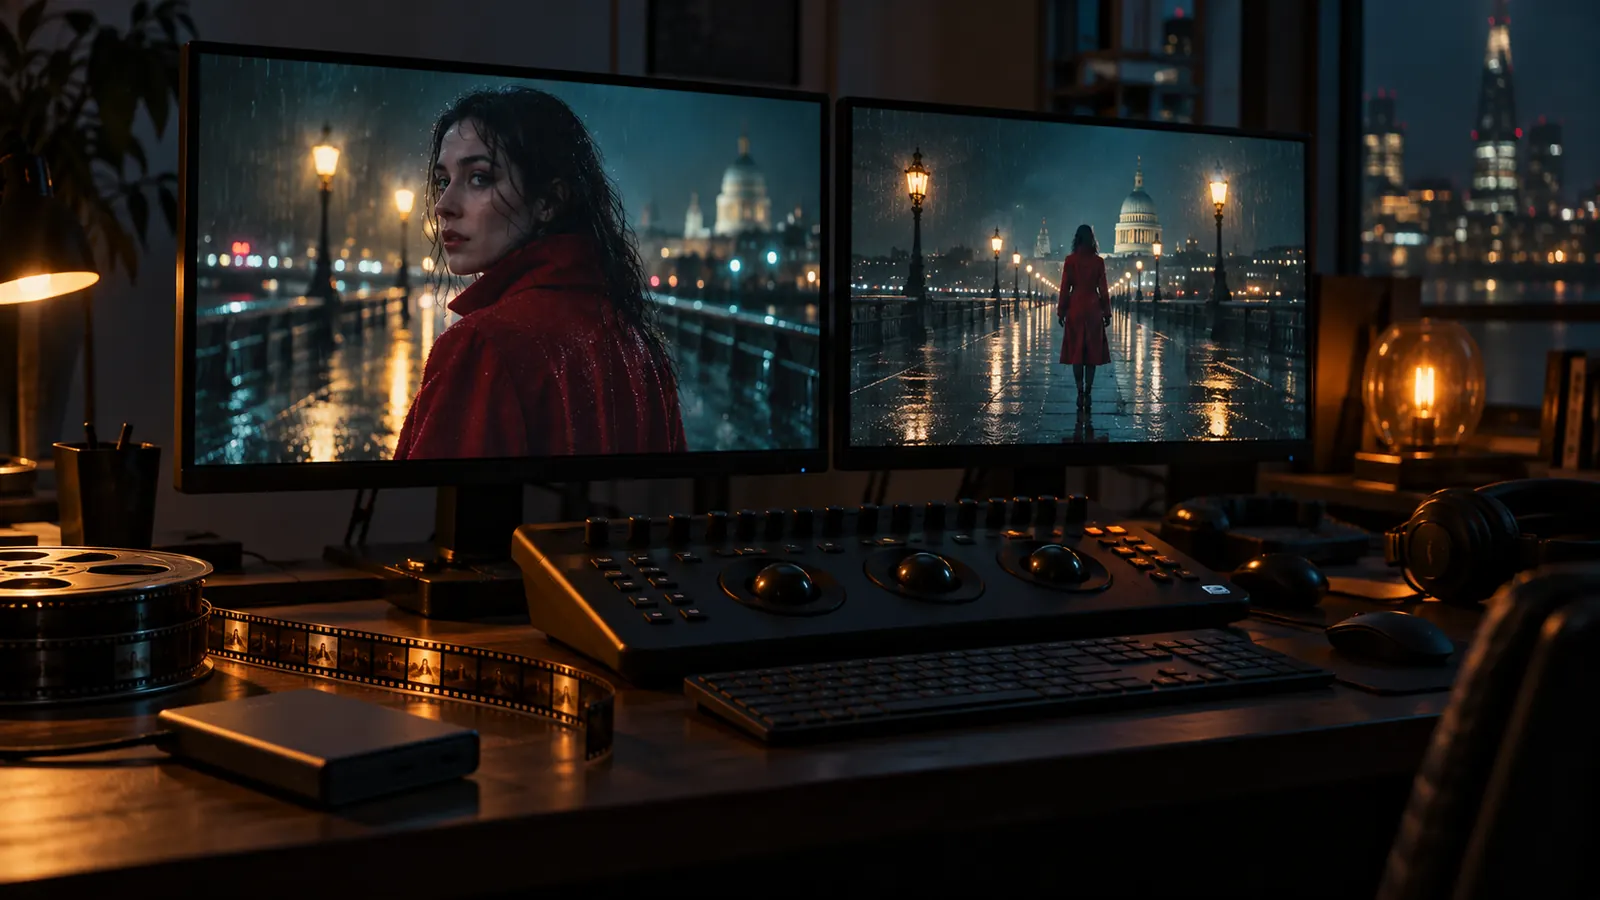
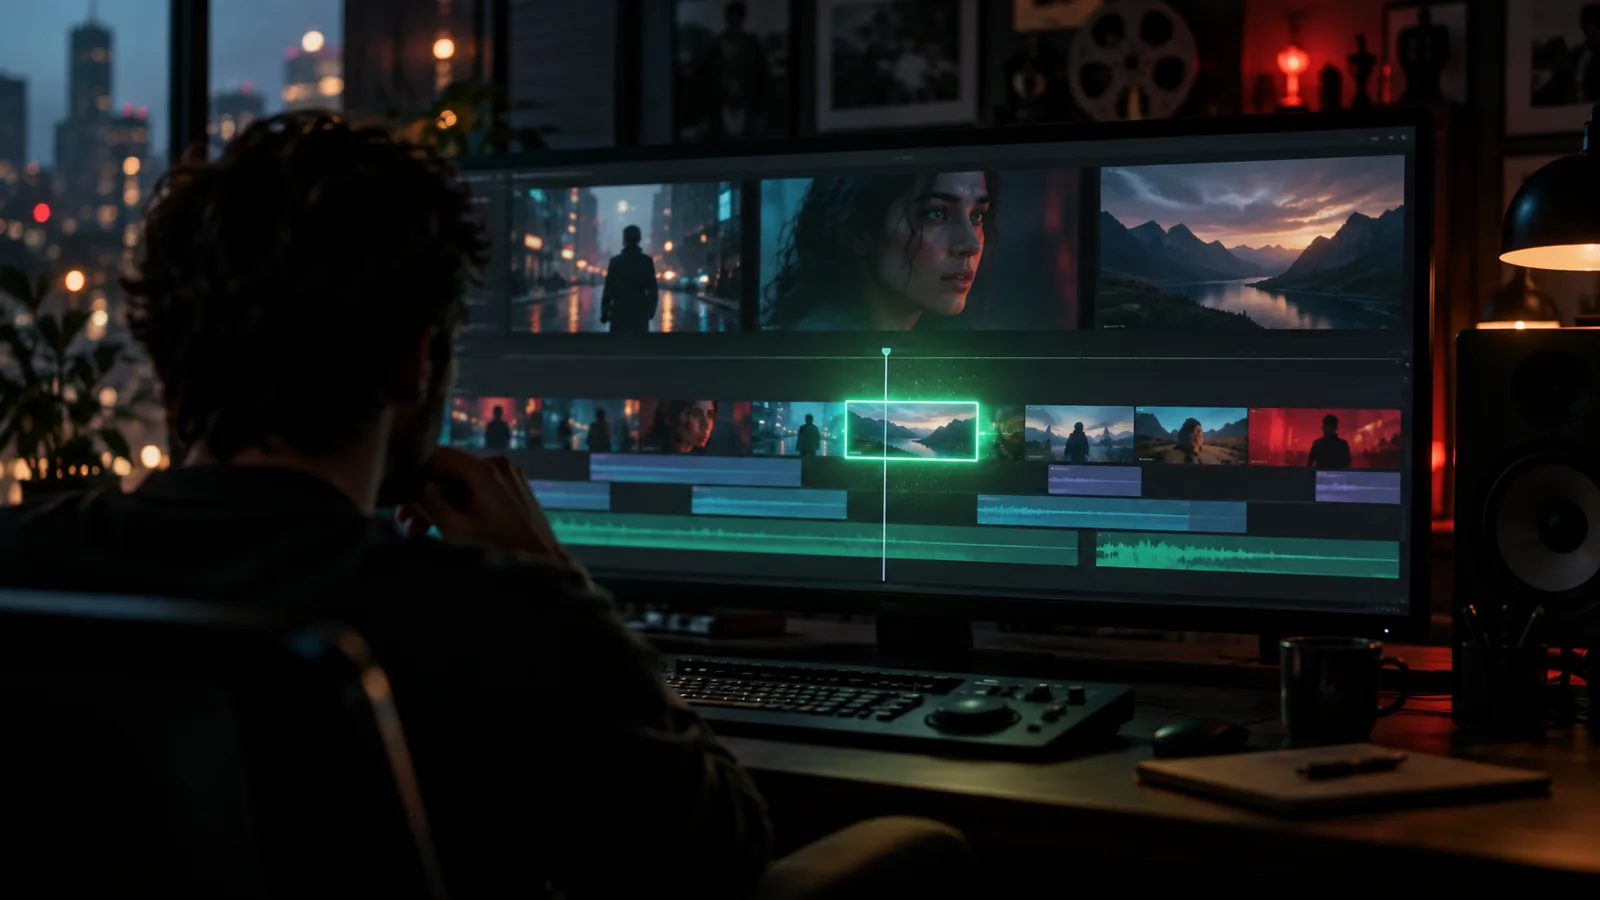
- Master-Video-Exporte & Schnittübergabe: Exportieren Sie Final Cuts als FCPXML-Dateien für Final Cut Pro oder rendern Sie direkt in eine fertige Master-Videodatei mit ausgerichteten Szenen, Shots und Mehrspur-Audio.
2. Charakterkontinuität, Visuelle Assets & Audio
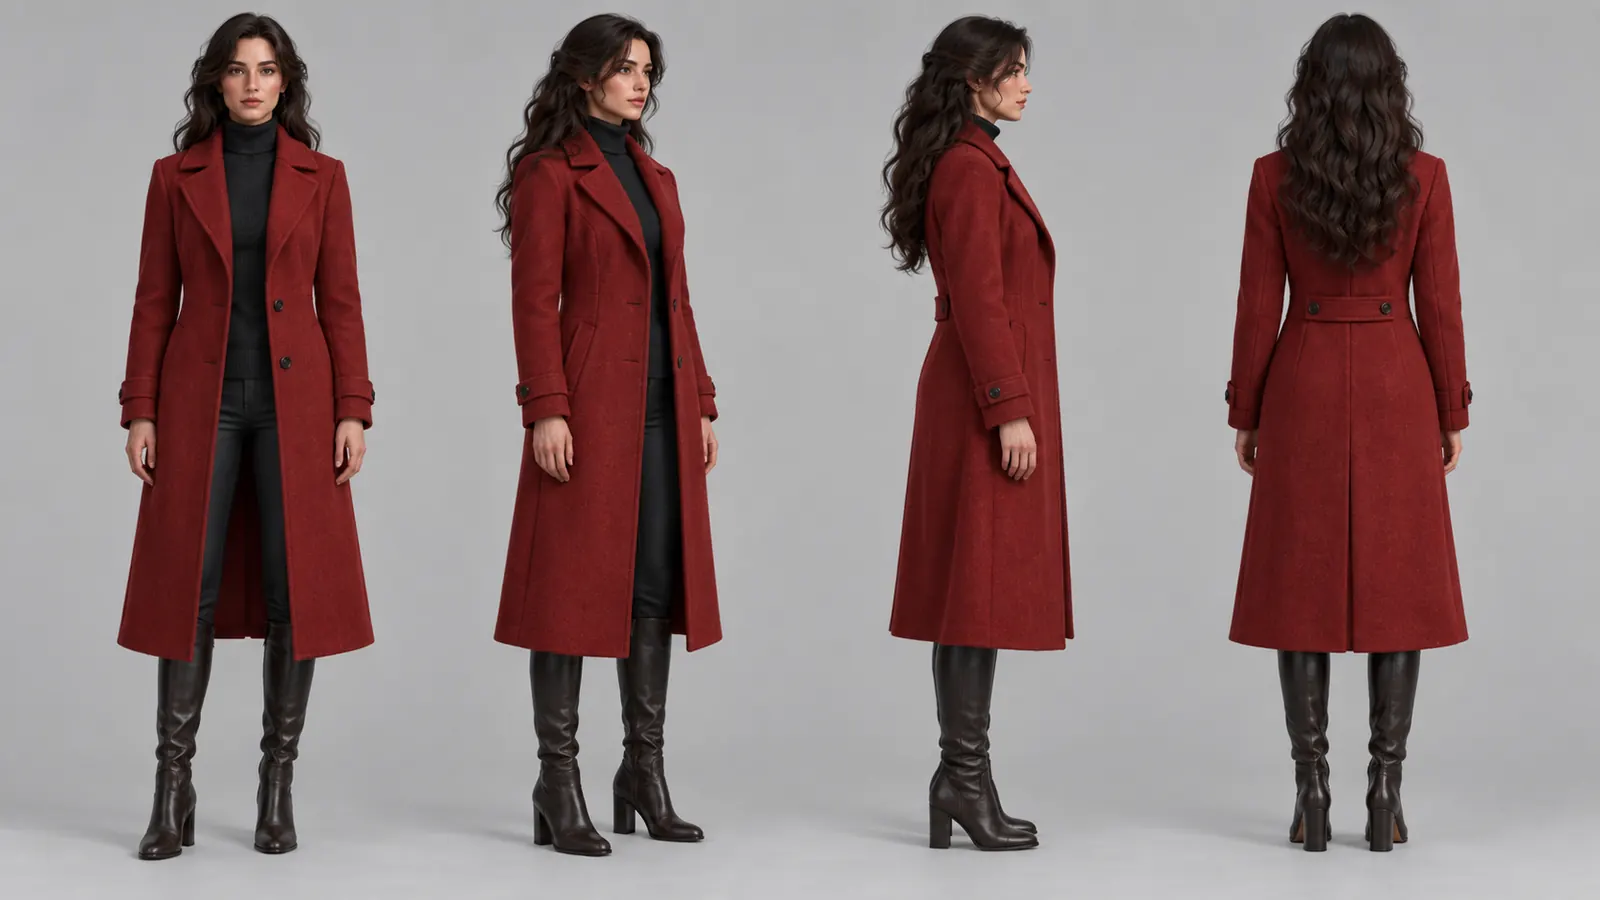
- Konsistente Asset-Referenzblätter: Erstellen Sie Charaktere, Orte, Kostüme und Requisiten mit Referenzblättern, Turnaround-Ansichten und Blickwinkeln, damit jeder Frame modellkonform bleibt.
- Verifizierte Schauspieleridentitäten: Besetzen Sie echte Personen, indem Sie die Verifizierung der Gesichtszustimmung (KYC) durchführen und verifizierte Identitätsprofile registrieren, damit Videomodelle über verschiedene Einstellungen hinweg konsistente Gesichter beibehalten.
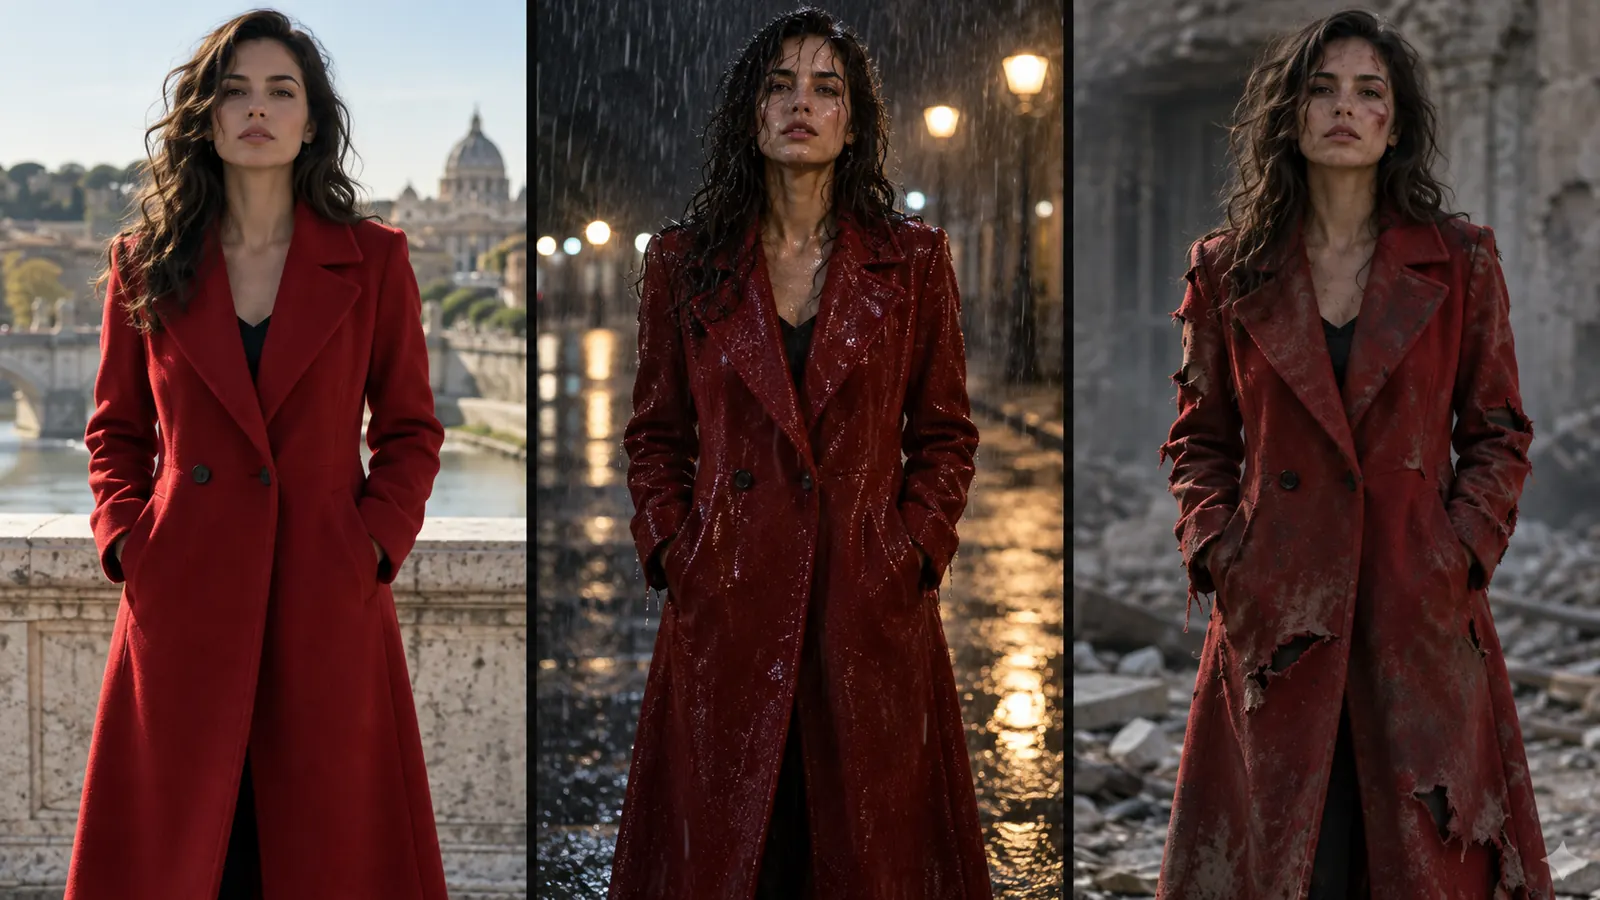
- Garderoben-, Make-up- & Haar-Tracking: Kleiden Sie Charaktere Szene für Szene ein (einschließlich Zuständen wie nass, zerrissen oder Abendgarderobe) und verfolgen Sie detaillierte Make-up- und Frisurnotizen über ein dediziertes Interface-Modal.
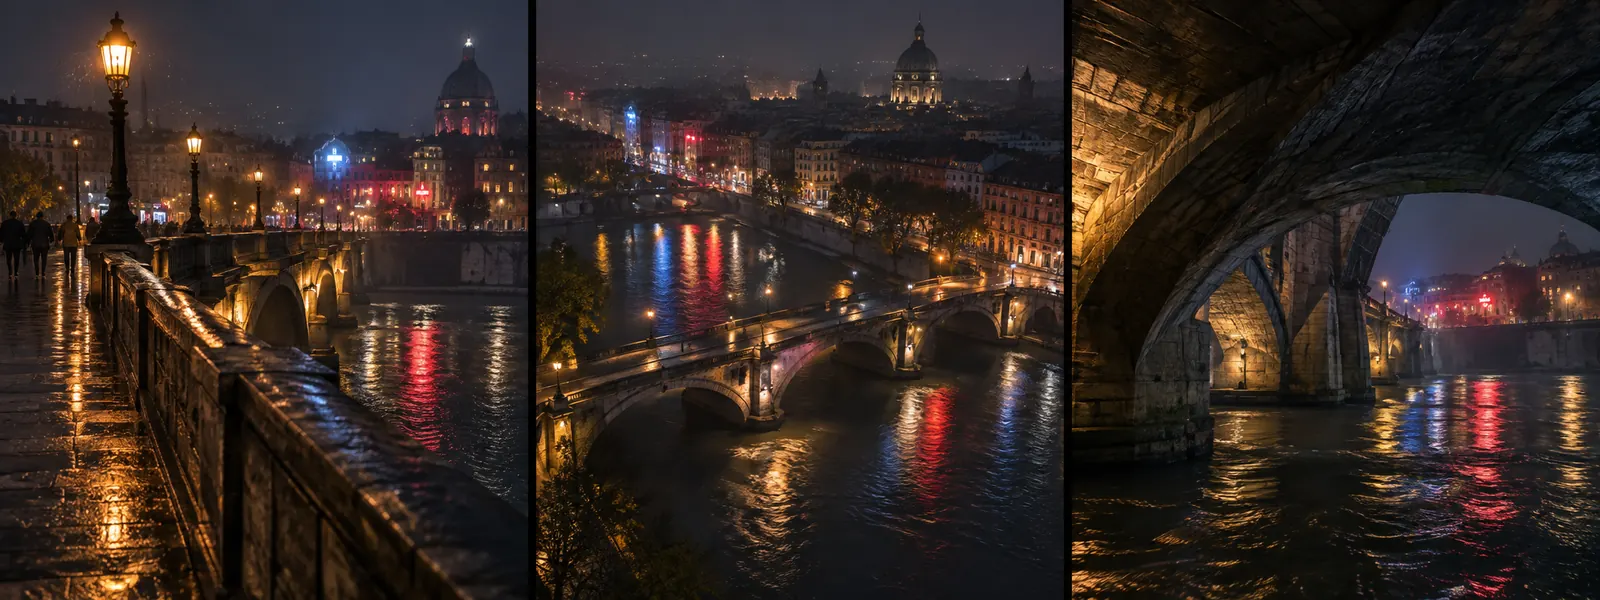
- Location Scouting: Durchsuchen Sie Karten, um Drehorte zu suchen und Kamerablickpunkte zu speichern. Jede Szene, die an diesem Ort spielt, verwendet den gespeicherten Ort und die Winkel wieder.
- Asset-Konzeptblätter: Vergleichen Sie mehrere Takes eines Charakters, Ortes oder Requisits nebeneinander, verfeinern Sie bestimmte Bereiche mit dem Maskenpinsel und genehmigen Sie ausgewählte Takes, bevor Sie sie in Shots verwenden.
- Vereinheitlichte Asset-Bibliothek & Sammlungen: Speichern Sie alle generierten und hochgeladenen Bilder, Videoclips und Audiospuren in einer zentralisierten Bibliothek mit Entwurfs- und Finalstatusindikatoren. Gruppieren Sie Assets in Sammlungen, teilen Sie sie über Links oder bewerben Sie sie in Ihrer Organisationsbibliothek.
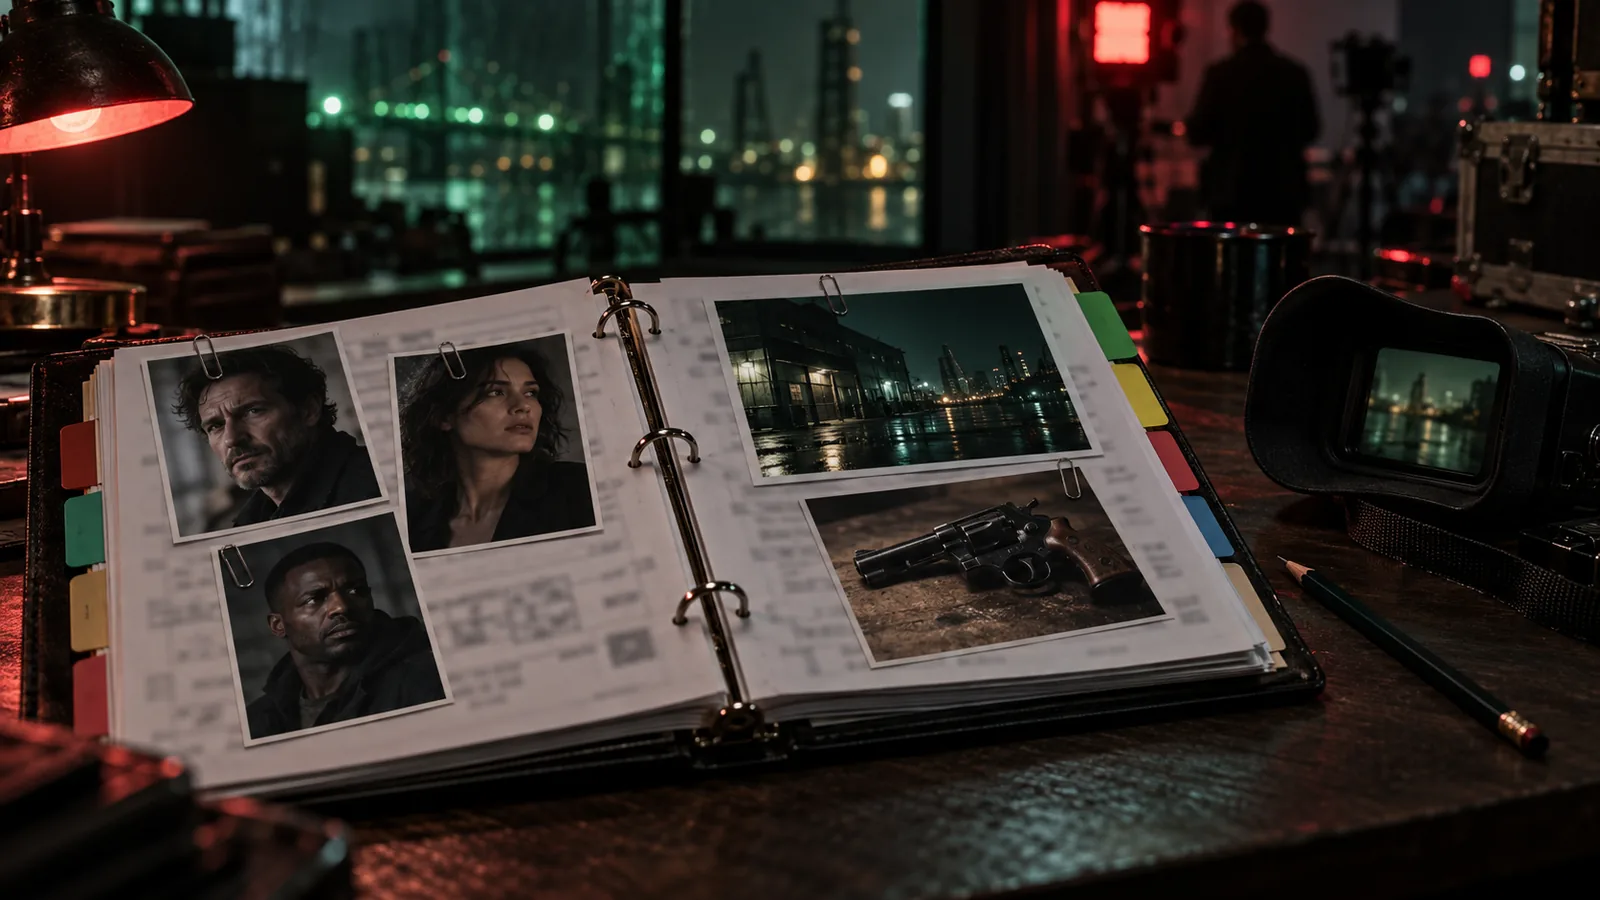
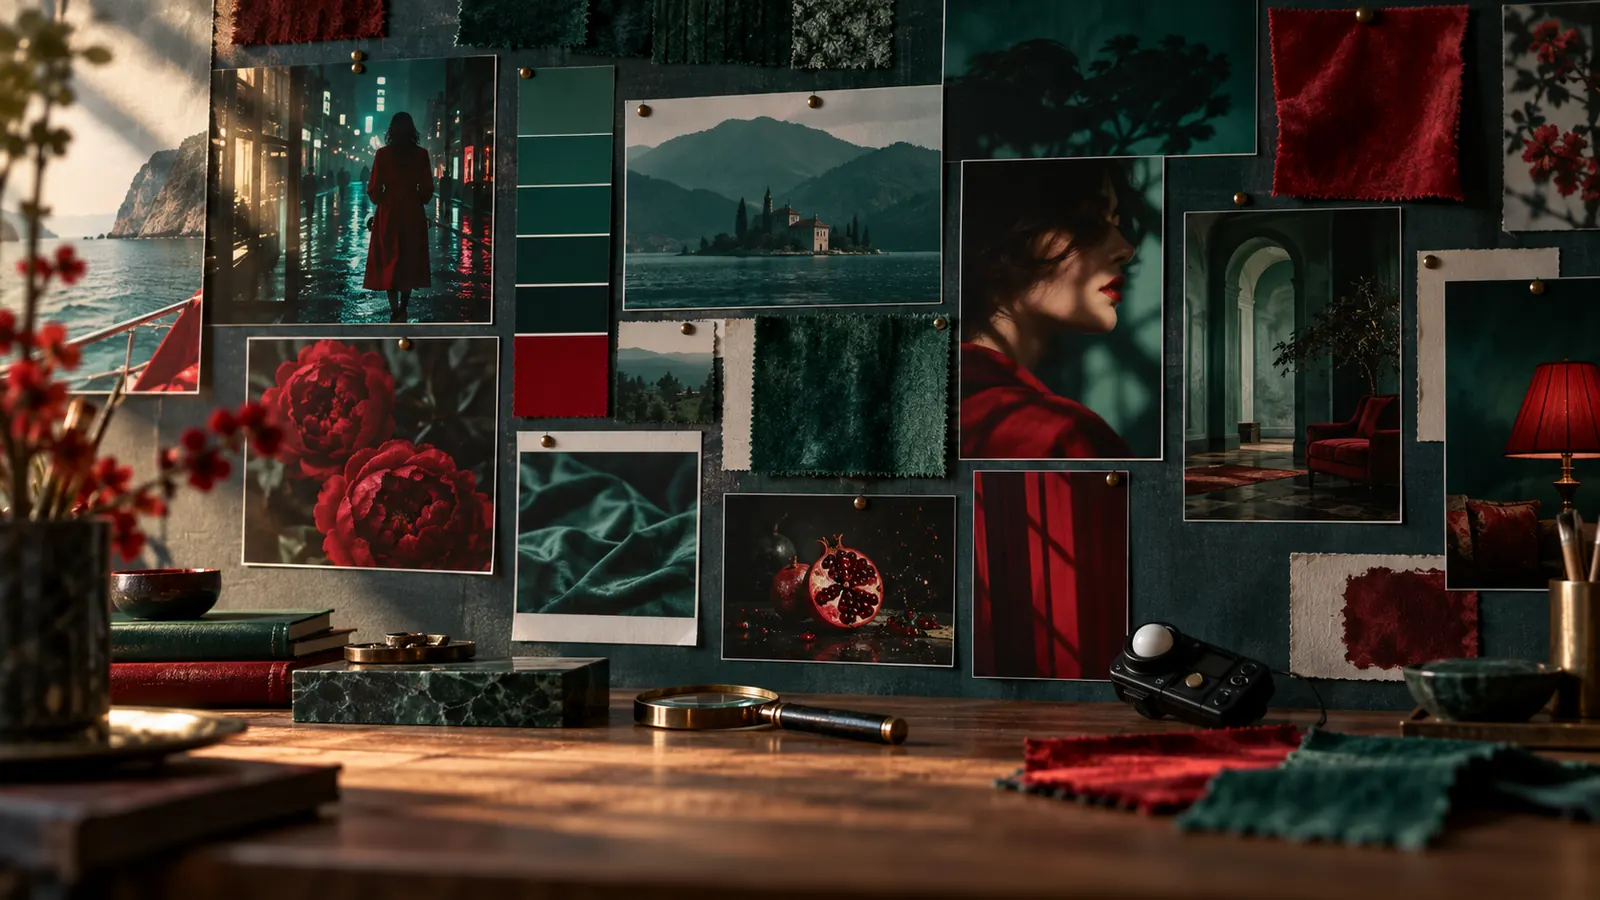
- Projektstilreferenzen & LookBooks: Definieren Sie die visuelle Identität mithilfe von Referenzbildern, Farbpaletten und Beschreibungen. Kuratieren Sie Referenzsammlungen zu LookBooks und teilen Sie diese über öffentliche Links.
- Requisitenkatalog & reale Dimensionen: Führen Sie Requisitenaufzeichnungen mit Referenzbildern und generierten Variationen und generieren Sie Dokumentationsblätter mit realen Maßen, um eine genaue Skalierung über alle Shots hinweg zu gewährleisten.
- Lokale Ordner-Synchronisation: Verbinden Sie einen lokalen Ordner auf Ihrem Speichermedium, um Projektmedien direkt zu lesen, mit visuellen Indikatoren, die zeigen, welche Assets lokal gecacht sind.
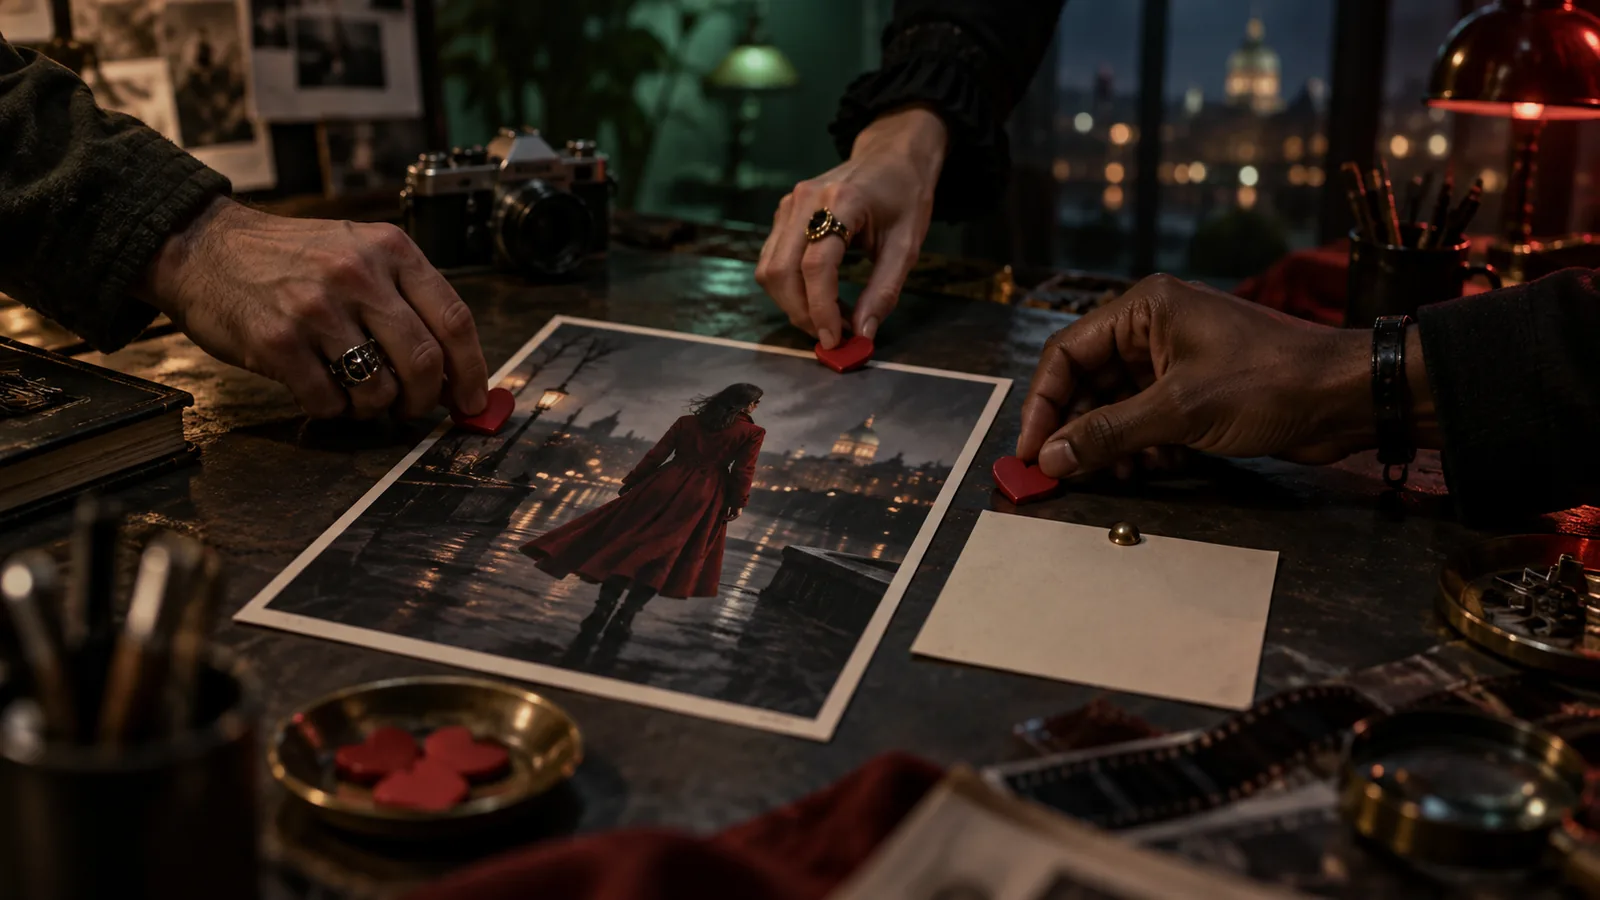
- Team-Likes & Kommentare: Liken Sie bevorzugte Asset-Takes, filtern Sie die Bibliothek nach Likes von Teammitgliedern und hinterlassen Sie Kommentare zu Assets.
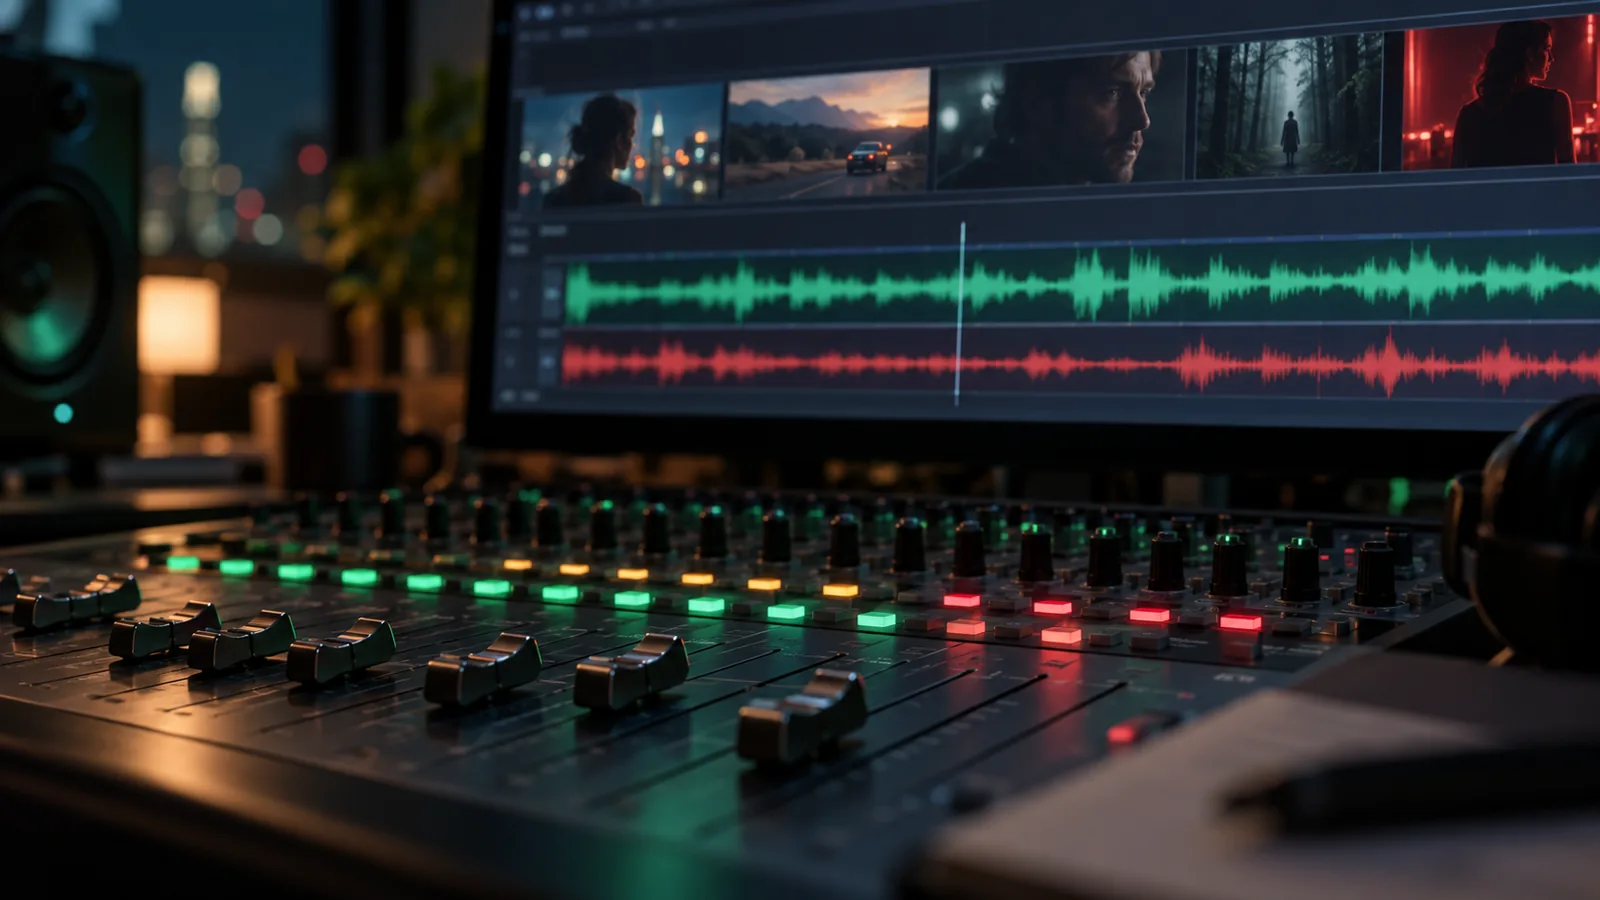
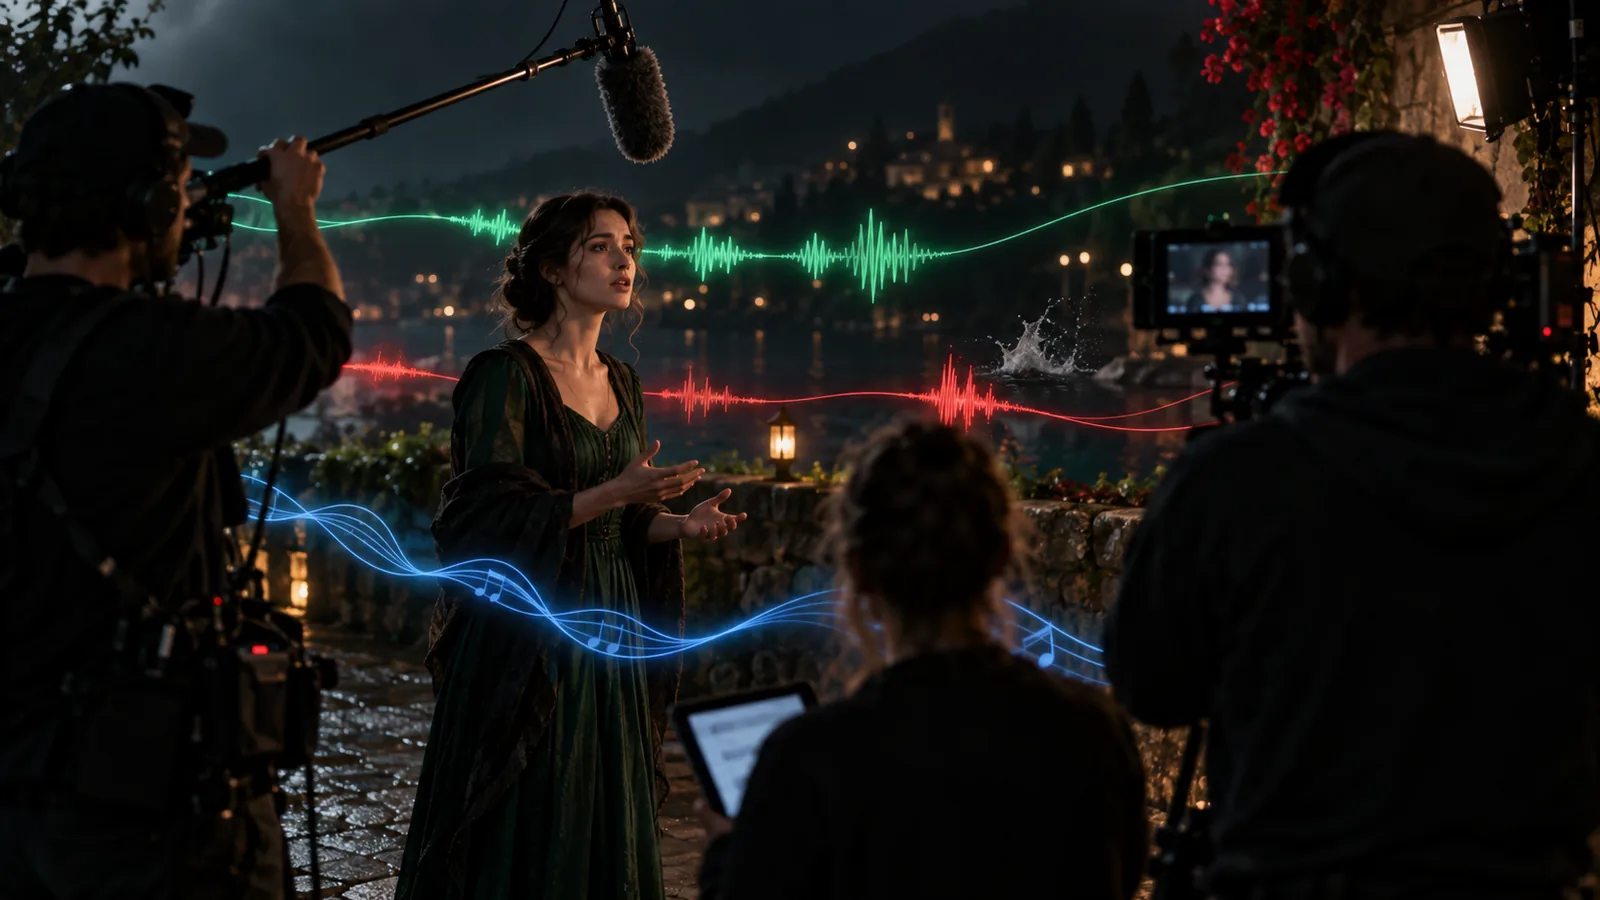
- Audiobibliothek, Stimmsynthese & Lippensynchronisation: Fügen Sie Dialoge, Soundeffekte und Musikspuren zu Shots hinzu. Weisen Sie Charakterstimmen zu, hören Sie Stimmen vor oder klonen Sie diese, synchronisieren Sie Audio lippensynchron mit Videoclips, balancieren Sie Audio auf Timeline-Spuren mit einem Mixer oder analysieren Sie Referenztracks, um eigene Scores oder Lieder mit Texten zu generieren.
3. Drehbuchschreiben, Vorproduktion & Szenen-Blocking
- Drehbuch-Editor & automatisierte Skriptaufschlüsselung: Schreiben Sie direkt in einem Editor mit KI-Co-Authoring-Tools oder importieren Sie bestehende Skripte. Das System unterteilt Skripte automatisch in Szenen, Shots, Darsteller, Orte und Requisiten.
- KI-Skriptgenerator & -Kritik: Entwerfen Sie vollständige Drehbücher oder einzelne Szenen aus einem Briefing, fordern Sie dann KI-Struktur- und Pacing-Kritiken an, bevor Sie umschreiben.
- Skriptverlauf & Snapshots: Erfassen Sie Skript-Snapshots an wichtigen Meilensteinen und stellen Sie frühere Entwürfe jederzeit wieder her.
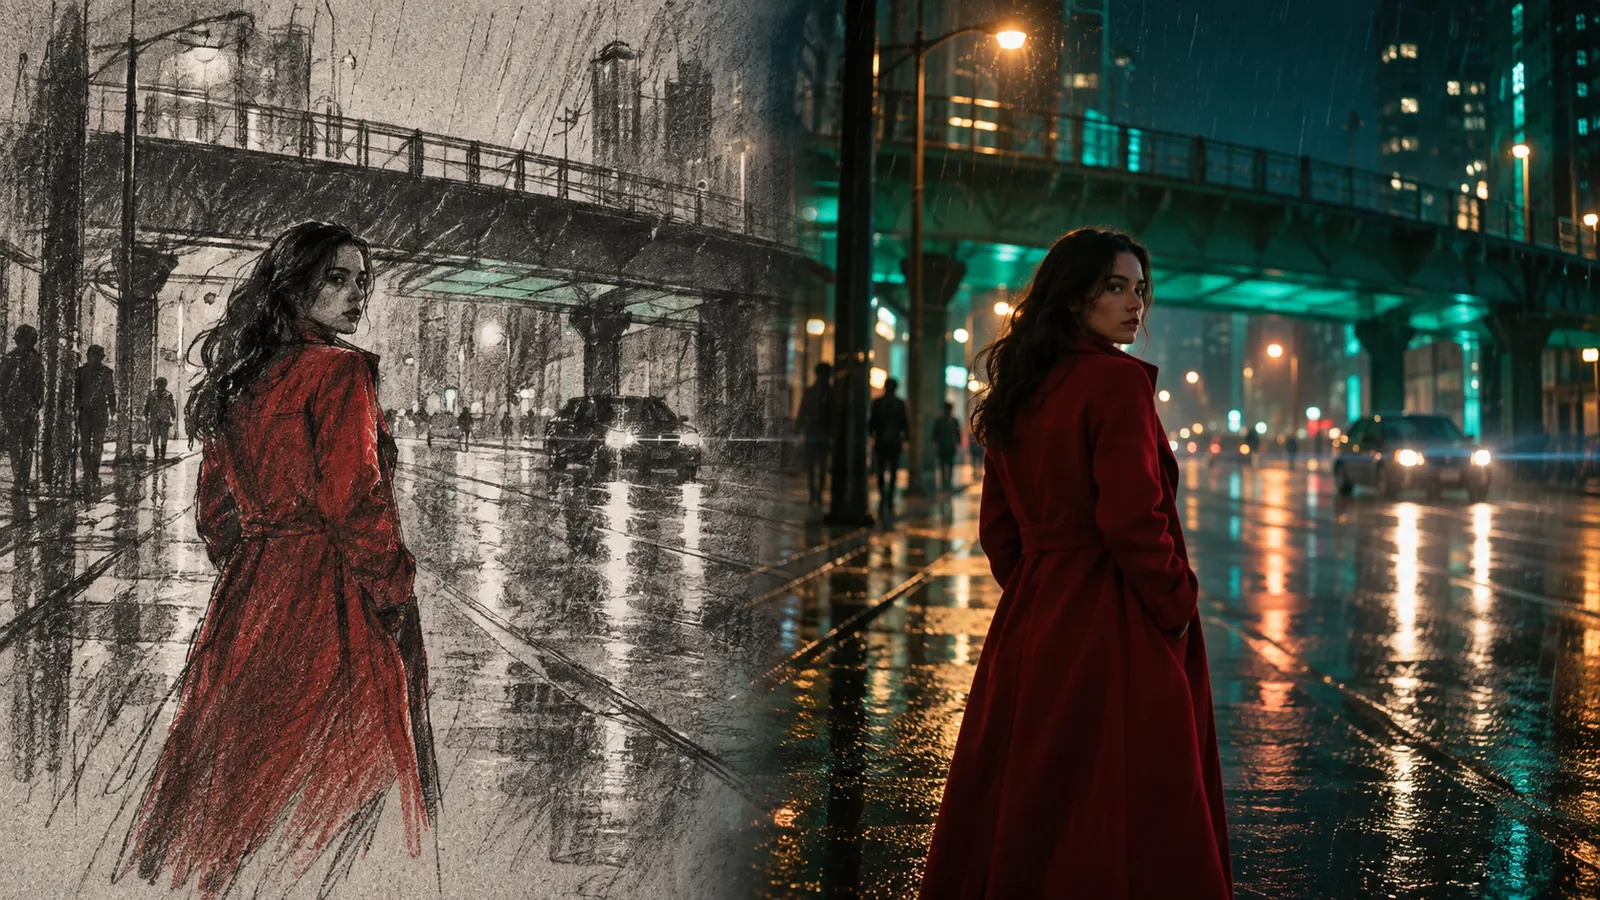
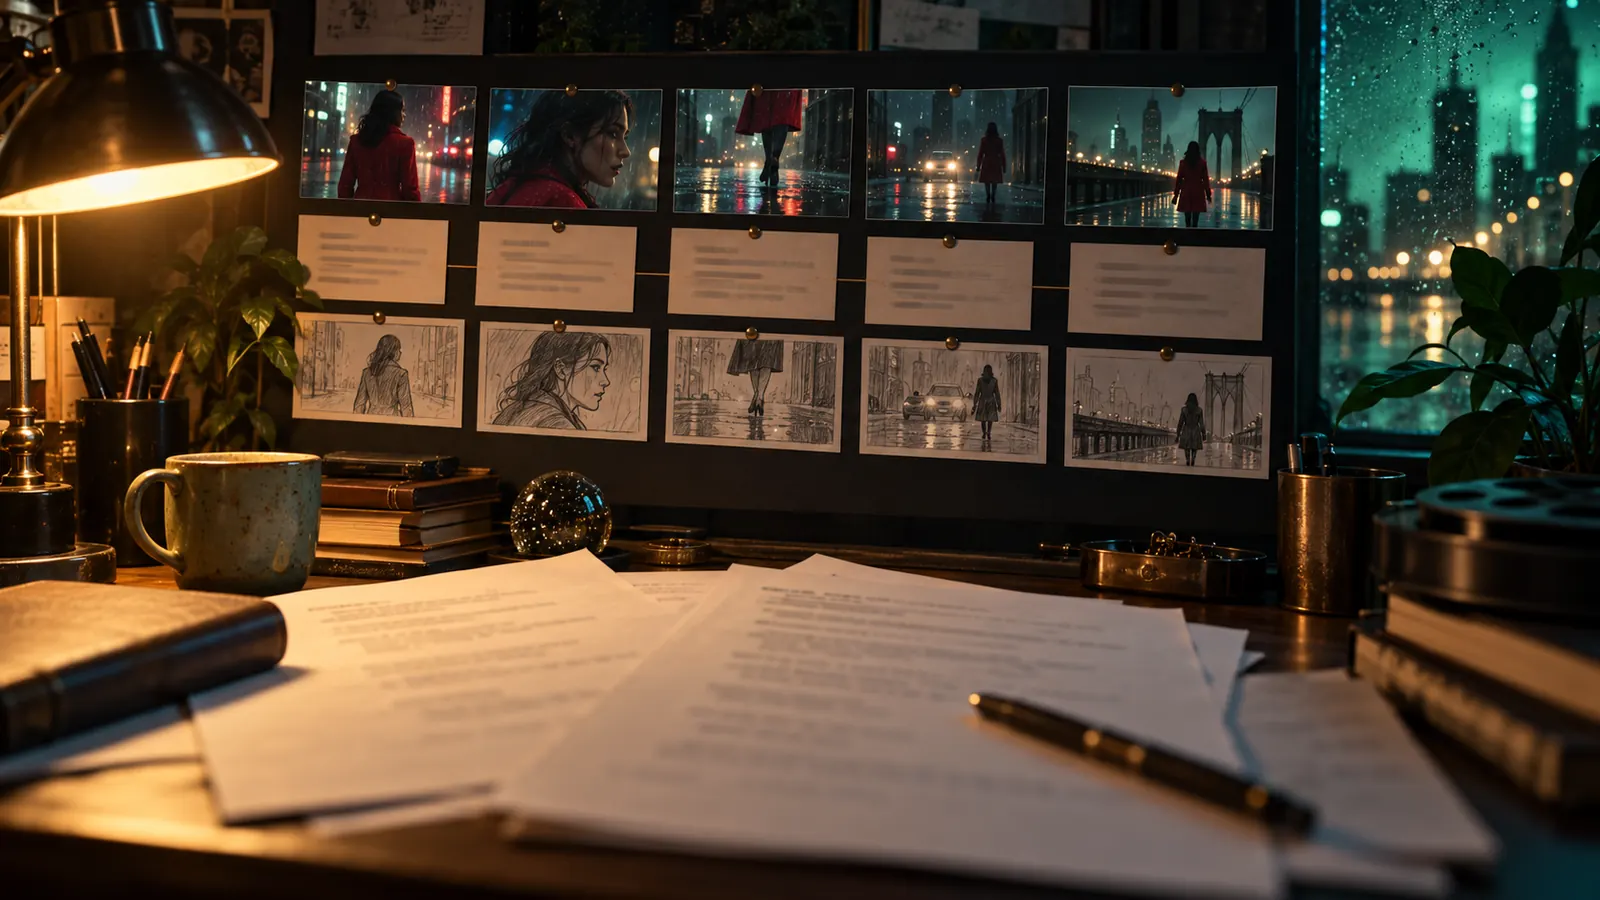
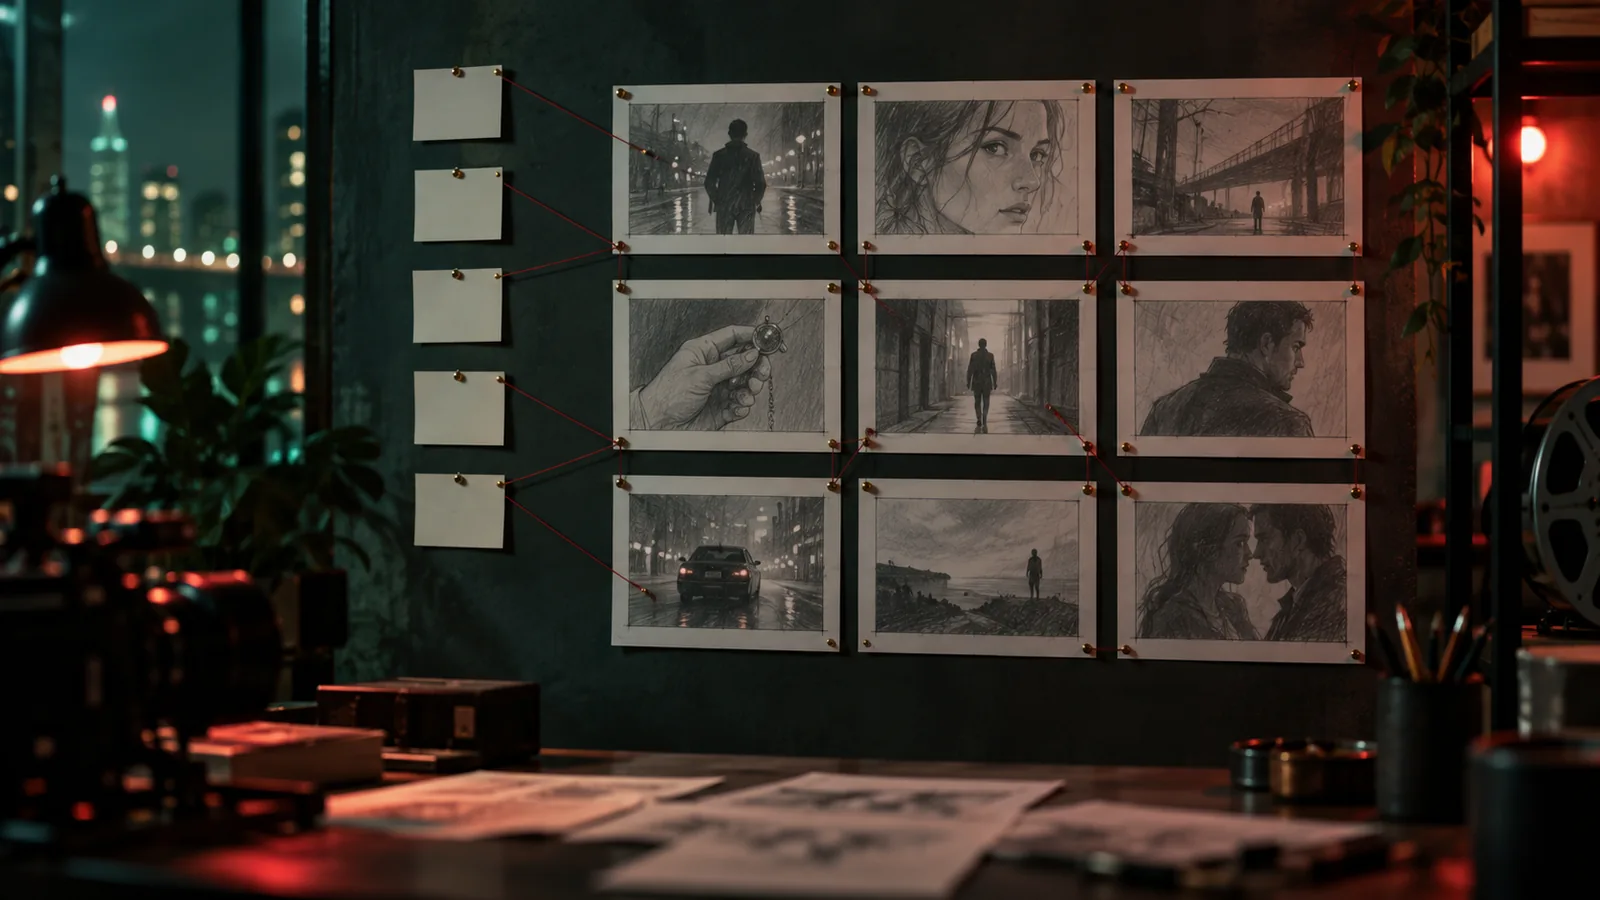
- Storyboards & druckfertige Boards: Erstellen Sie druckbare Szenen-Boards, Episoden-Boards oder Editorial-Magazin-Layouts mit strukturierten Panels. Exportieren Sie sie in PDF- oder PNG-Format, öffnen Sie sie im Design-Modus für Ebenenanpassungen oder teilen Sie sie über öffentliche Links und digitale Storyboard-Bücher.
- Treatments & Pitch-Dokumente: Entwerfen Sie Treatments mit Story Beats, Tone Settings, Pitch Bibles, Postern, Treatment-Storyboard-Rastern und teilbaren öffentlichen Seiten.
- Serien-Canon & Bibles: Generieren Sie Serien-Canons, Staffel-Übersichten und Episoden-Bibles für mehrteilige Inhalte.
- Szenen-Editor, Timeline & Ansichten: Verwalten Sie Szenendetails, Besetzungszuweisungen, Orte, Looks und Versionen mit dem Szenen-Editor, dem kompakten Szenen-Raster, der Szenen-Timeline und der Klapptafel-Ansicht.
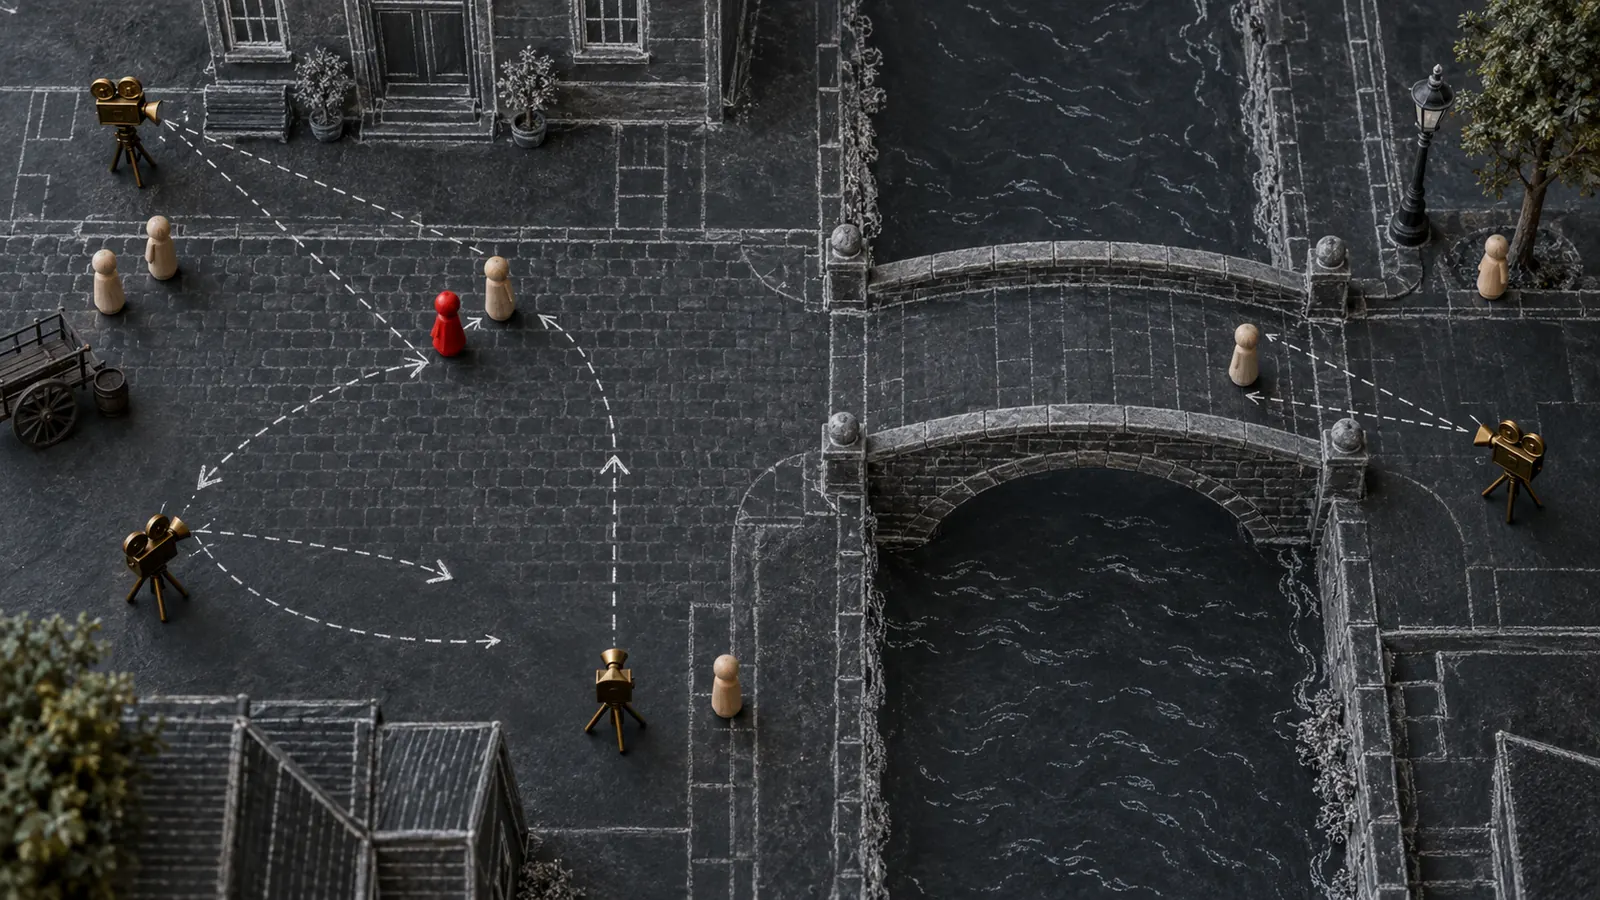
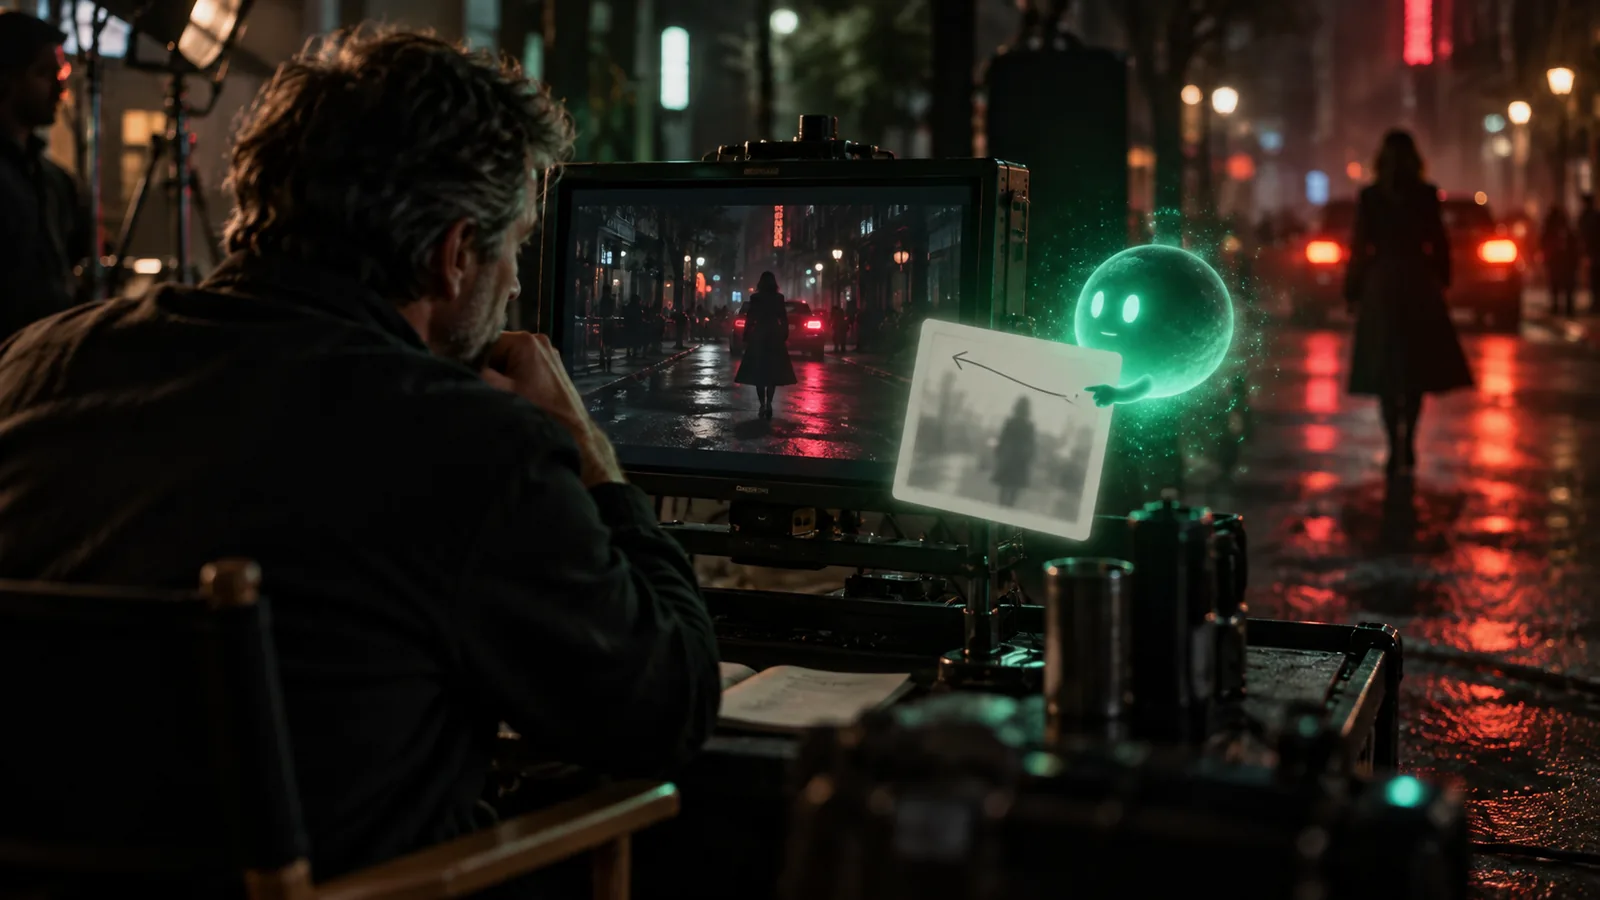
- Szenen-Karten-Editor & KI-Regie: Blocken Sie Szenen aus der Vogelperspektive, indem Sie Schauspieler, Requisiten und Kameras platzieren und Positionen direkt in Shot-Prompts einspeisen. Nutzen Sie die KI-Szenenregie, um Shot-Coverage-Vorschläge automatisch basierend auf Ihren Regie-Einstellungen zu generieren.
- KI-Projektbriefing & verwandte Werke: Erstellen Sie geführte Briefings zu Story, Charakteren, Branding, Look und Sound. Sammeln Sie Moodboard-Visuals und Musikreferenzen für die KI-Analyse und entdecken Sie vergleichbare Filme, Serien oder Werbespots als Pitch-Referenz.
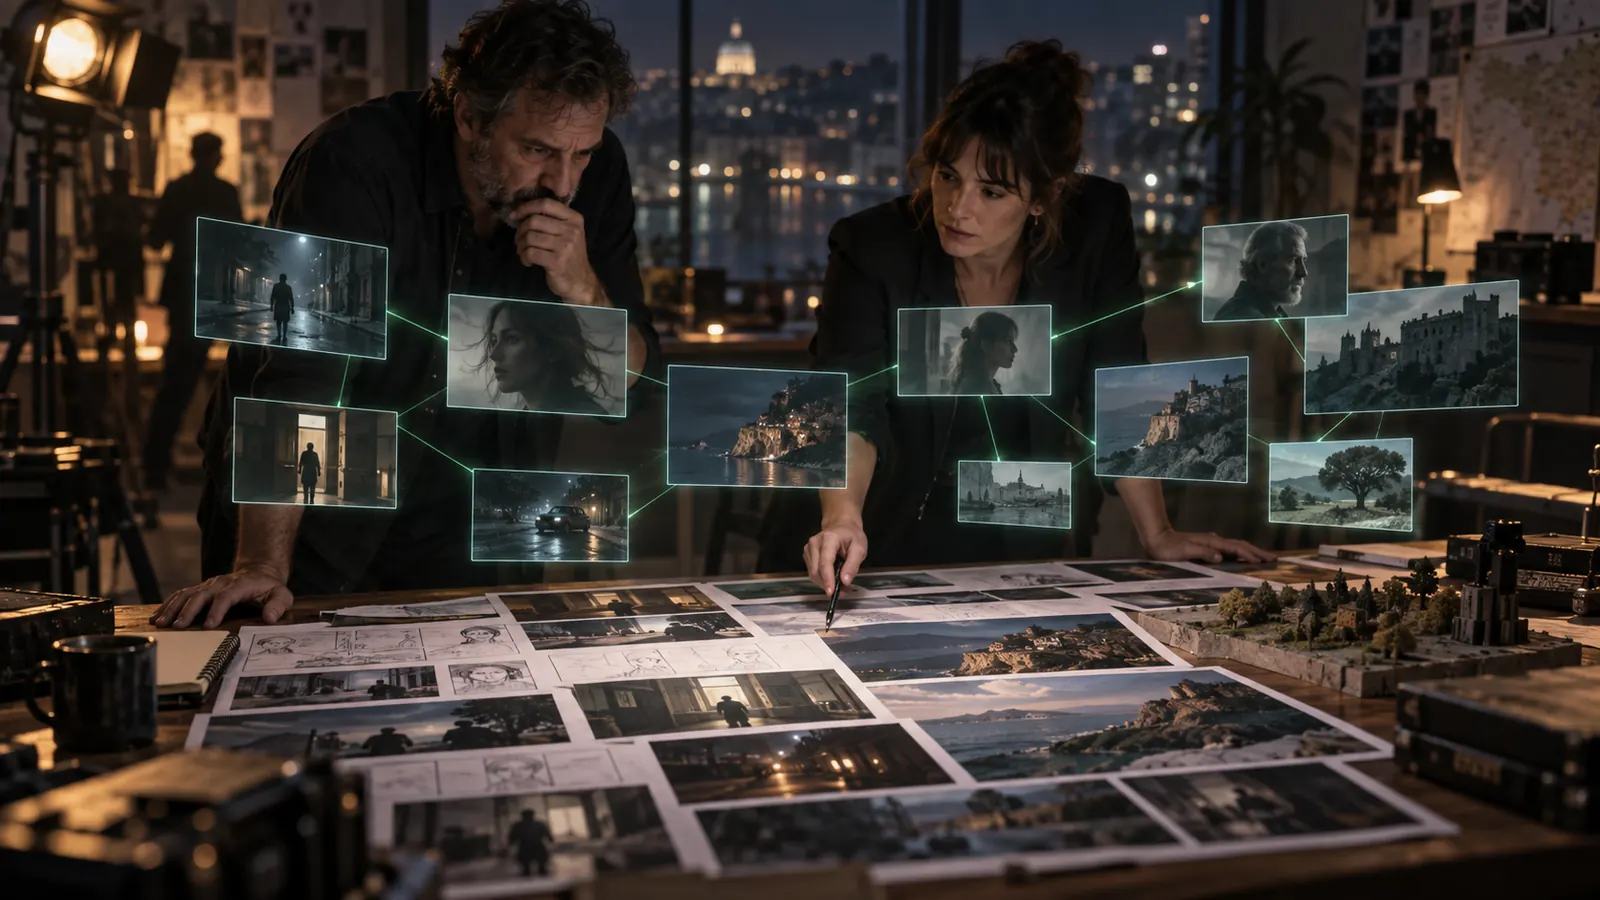
- Brain-Graph-Workspace & Projektspeicher: Betrachten Sie Ihre Produktion als eine vernetzte Karte von Charakteren, Szenen, Orten, Dokumenten und Budgets. Alle Projektelemente werden im Projektspeicher indexiert, damit die KI-Unterstützung stets in Ihrem Produktionskontext verankert ist.
4. Produktionsmanagement & Kollaboration
- Produktions-Hub & Medien-Wiki: Verknüpfen Sie Projekte mit Kunden, Marken, Produktionshäusern und Städten. Pflegen Sie Seitenverhältnis-Cover, Backstage-Fotogalerien und Projekt-Wiki-Seiten für Presse und Fakten.
- Lebenszyklusstatus: Führen Sie Projekte durch die Phasen Entwicklung, Vorproduktion, Produktion, Nachproduktion und Abgeschlossen.
- Task Boards & Call Sheets: Organisieren Sie die Arbeit mit Kanban-Boards, Kalendern oder Gantt-Diagrammen. Wandeln Sie Drehpläne in druckbare oder herunterladbare PDF-Call-Sheets um, die Crew-, Standort- und Zeitdetails enthalten.
- Team-Besetzung, Rollen & Casting-Aufrufe: Verwalten Sie Besetzungs- und Crewlisten mit Rollenauswählern, verfolgen Sie Kandidaten und veröffentlichen Sie öffentliche Casting-Aufrufe, um Bewerbungen zu sammeln und zu prüfen.
- Finanzen & Equipment-Tracking: Definieren Sie Budgetkategorien, protokollieren Sie Ausgaben während der Produktion und pflegen Sie Equipmentlisten für Ihren Dreh.
- KI-Agenten & Produzentennotizen: Arbeiten Sie zusammen mit KI-Agenten, die Shots aktualisieren, Renderings in die Warteschlange stellen und Aufgaben verwalten. Hinterlassen Sie Notizen zu Shots oder verbinden Sie einen Telegram-Chat, um Produzentenanweisungen direkt in das Projekt zu senden.
- Client-Freigabe & Live-Projektseiten: Teilen Sie eine öffentliche Seite ohne Login, die die neuesten Frames, Clips, Musik und Treatments anzeigt. Angemeldete Reviewer können Likes und Kommentare hinterlassen, und der Zugriff kann jederzeit widerrufen werden.
- Versionskontrolle & Snapshots: Speichern Sie projektweite Snapshots an wichtigen Meilensteinen und verfolgen Sie Änderungen im Laufe der Zeit.
- API-Zugang & MCP-Tokens: Generieren Sie API-Schlüssel oder konfigurieren Sie OAuth-Anmeldeinformationen, um externe Tools und Dienste zu integrieren.
Anwendung
Workflow 1: Drehbuchschreiben und automatisierte Aufschlüsselung
- Öffnen Sie Ihr Projekt und wählen Sie den Drehbuch-Editor.
- Geben Sie Ihr Skript ein oder importieren Sie eine bestehende Datei. Nutzen Sie die KI-Co-Writer-Tools, um Szenen zu verfeinern oder fehlende Dialoge zu generieren.
- Überprüfen Sie die automatisch generierte Aufschlüsselung, um extrahierte Szenen, Shots, Charaktere, Orte und Requisiten zu verifizieren.
- Speichern Sie einen Skript-Snapshot, um Ihren Meilenstein-Entwurf zu bewahren.
Workflow 2: Visuelle Charakter- und Stilkontinuität herstellen
- Öffnen Sie den Bereich Asset-Management und erstellen Sie Einträge für Ihre Hauptcharaktere, Requisiten und Drehorte.
- Laden Sie visuelle Referenzbilder hoch, legen Sie Farbpaletten fest und definieren Sie Projektstilreferenzen.
- Führen Sie die Zustimmungserklärung (KYC) für echte Schauspieler durch, um verifizierte Identitätsprofile zu registrieren.
- Richten Sie szenenbasierte Garderobenzustände ein (z.B. nass, Abendgarderobe) und weisen Sie Charakter-Stimmprofile für automatisierte Sprache und Lippensynchronisation zu.
- Generieren Sie Asset-Konzeptblätter, um Takes nebeneinander zu vergleichen, Details mit dem Maskenpinsel zu verfeinern und finale Referenz-Looks zu genehmigen.
Workflow 3: Inszenieren und Rendern von Shots
- Öffnen Sie den Szenen-Editor oder Shot Editor.
- Markieren Sie Darsteller in Prompts mithilfe von
@-Tags.
- Konfigurieren Sie virtuelle Kameraeinstellungen, indem Sie Kameragehäuse, Objektive, Filmstocks und Kamerabewegungs-Presets auswählen.
- Überprüfen Sie die im Shot Editor angezeigte Kreditkostenübersicht oder führen Sie eine Trockenlauf-Vorschau über mehrere Shots aus.
- Rendern Sie einen 480p Entwurfs-Clip mit Seedance 2.5, um Kamerabewegung und Timing zu verifizieren.
- Falls Detailänderungen erforderlich sind, verwenden Sie den Maskenpinsel, um Inpainting-Bearbeitungen mit GPT Image 2.5 durchzuführen.
- Sobald Sie mit dem Take zufrieden sind, aktualisieren Sie mit einem einzigen Klick direkt zu einem 1080p finalen Rendering.
Workflow 4: Überprüfen, Storyboarding und Exportieren
- Zeigen Sie Ihre komplette Sequenz in der Szenen-Timeline an oder blättern Sie durch Ihr Storyboard-Buch.
- Erstellen Sie druckbare Szenen-Boards oder Editorial-Boards, passen Sie Papierlayouts an und exportieren Sie sie in PDF/PNG oder bearbeiten Sie Ebenen im Design-Modus.
- Balancieren Sie Dialoge, Stimmsynthese, Soundeffekte und Score-Tracks mit dem Timeline-Audiomixer.
- Teilen Sie einen Link zur Live-Projektseite mit externen Kunden oder Stakeholdern, um Feedback zu sammeln.
- Exportieren Sie Ihren Final Cut als FCPXML-Datei für Final Cut Pro oder rendern Sie eine fertige Master-Videodatei direkt.
Tipps & Hinweise
- GPU-Speicherbeibehaltung: Wenn die Steuerung In den Speicher laden deaktiviert erscheint, überprüfen Sie die Meldung auf der Steuerung selbst. Sie weist auf das erforderliche Versionsupdate für Ihre lokale PMF Link Laufzeitsoftware hin.
- Transparenz der Kreditkosten: Überprüfen Sie immer die Vorab-Kreditkosten im Shot Editor, bevor Sie Renderings starten. Nutzen Sie Trockenlauf-Vorschauen bei Multi-Shot-Sequenzen, um den gesamten Kreditverbrauch im Voraus zu bewerten.
- Selektives Inpainting: Beim Verwenden maskierter Bearbeitungen pinseln Sie nur über den exakten Bereich, der Änderungen erfordert. GPT Image 2.5 komponiert die Modifikation in den markierten Bereich, während der Rest Ihres Original-Frames unberührt bleibt.
- Board-Exporte: Beim Exportieren druckbarer Storyboards (Szenen-Boards oder Editorial-Layouts) als PDF oder PNG verwendet der Export automatisch ein helles Papierthema für sauberes Drucken, während Ihr aktiver Bildschirm-Editor sein dunkles Workspace-Thema beibehält.
 KernKostenlosv1.160